
Fantasy Wainscoting
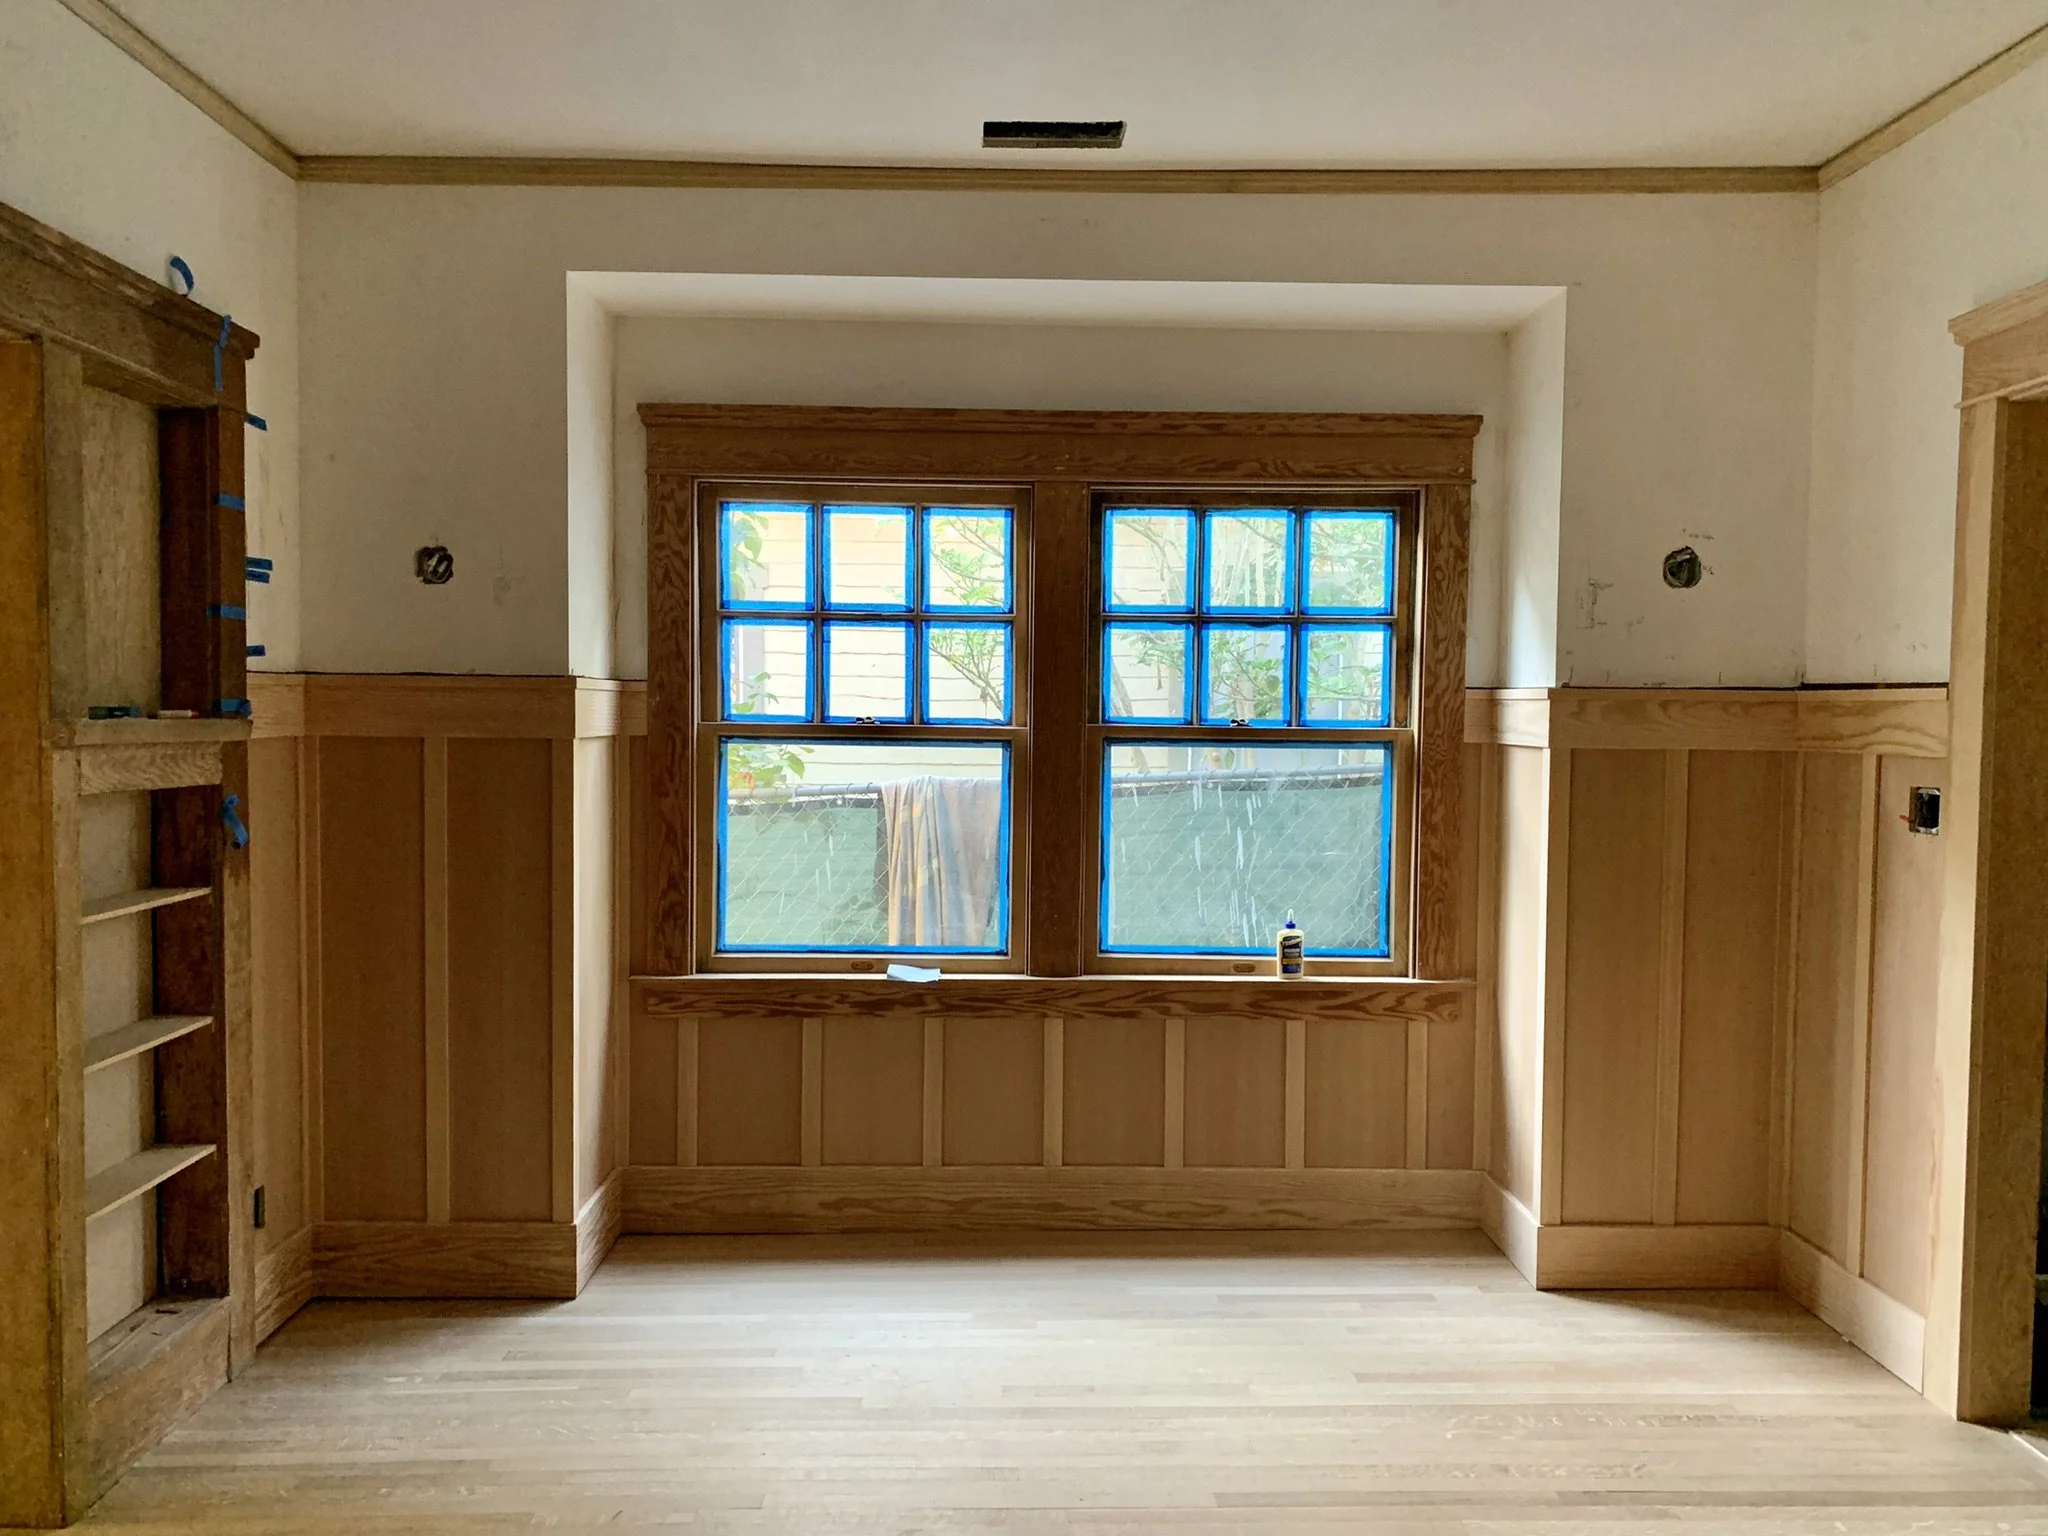
A lot has been happening, but very slowly, it seems. For now, a little bit about the wainscoting that we have added in the dining room. This room was always kind of blank and had no personality, as you can see here:

2014 real estate listing photo of our dining room

The room two years or so later with some stuff in it.
We never bothered to paint this room. It’s a little dim (even though it looks blinding in the first photo). We had the cheapest curtains we could find on equally cheap tension rods. It was over-furnished with a dining table in the middle and another big table over in the window. That was convenient, especially since we needed extra desk space, but I’m done with that.
It’s normally against my professional inclination (thanks to the Secretary of the Interior’s Standards for Rehabilitation) to say, “This is what the room SHOULD have had historically but did NOT,” and add something fancy that is a pure fabrication with no evidence of it ever having been there. But really, this room badly needed something. That something was wainscoting, which so many of even the most basic bungalows have, though ours apparently never did. Our plaster went all the way to the floor with the original baseboards, and there was no sign of something so major being removed from the space (unlike the sideboard, which we did hear from the previous owners was removed).
Now that the wainscoting is in (with just a few tiny details to finish), the room is already asserting its new and improved personality. In addition to this, there is a new four-light reproduction pendant fixture for the center of the room and four matching sconces to be mounted where you see the little circles on the wall. These have all been sitting in a box in the garage for nine or ten months (no wonder I am tired of this).


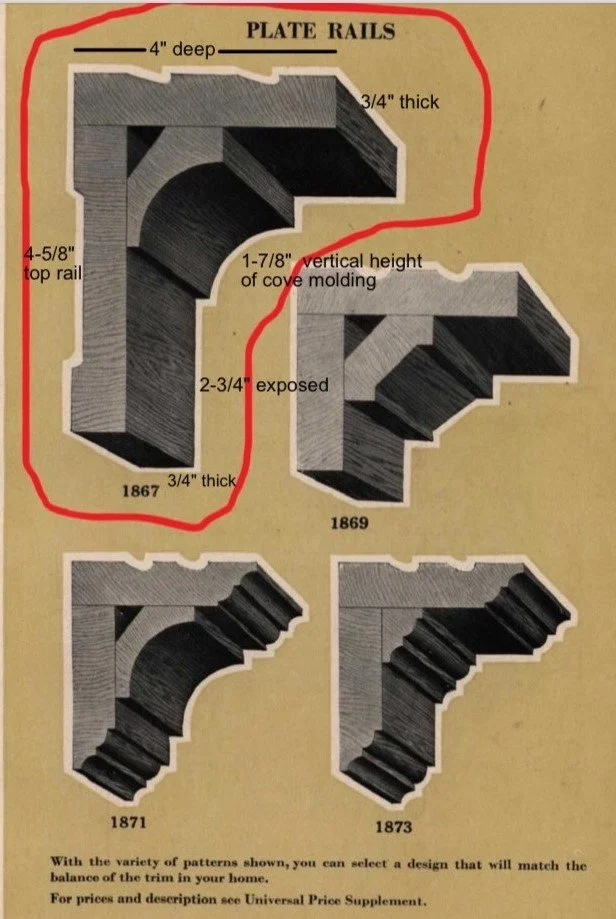
We based our plate rail on the upper one that is circled. The measurements indicate the dimensions from another page of the catalog, but we didn’t use them exactly (e.g., our plate rail is 1” thick). I think we had it all milled. Even though we can’t just order from the 100 year old catalog, referring to these has been so helpful in seeing what was available in the period, narrowing down what is appropriate for the house, figuring out the component parts of things, and giving the millwork shop something to work from.
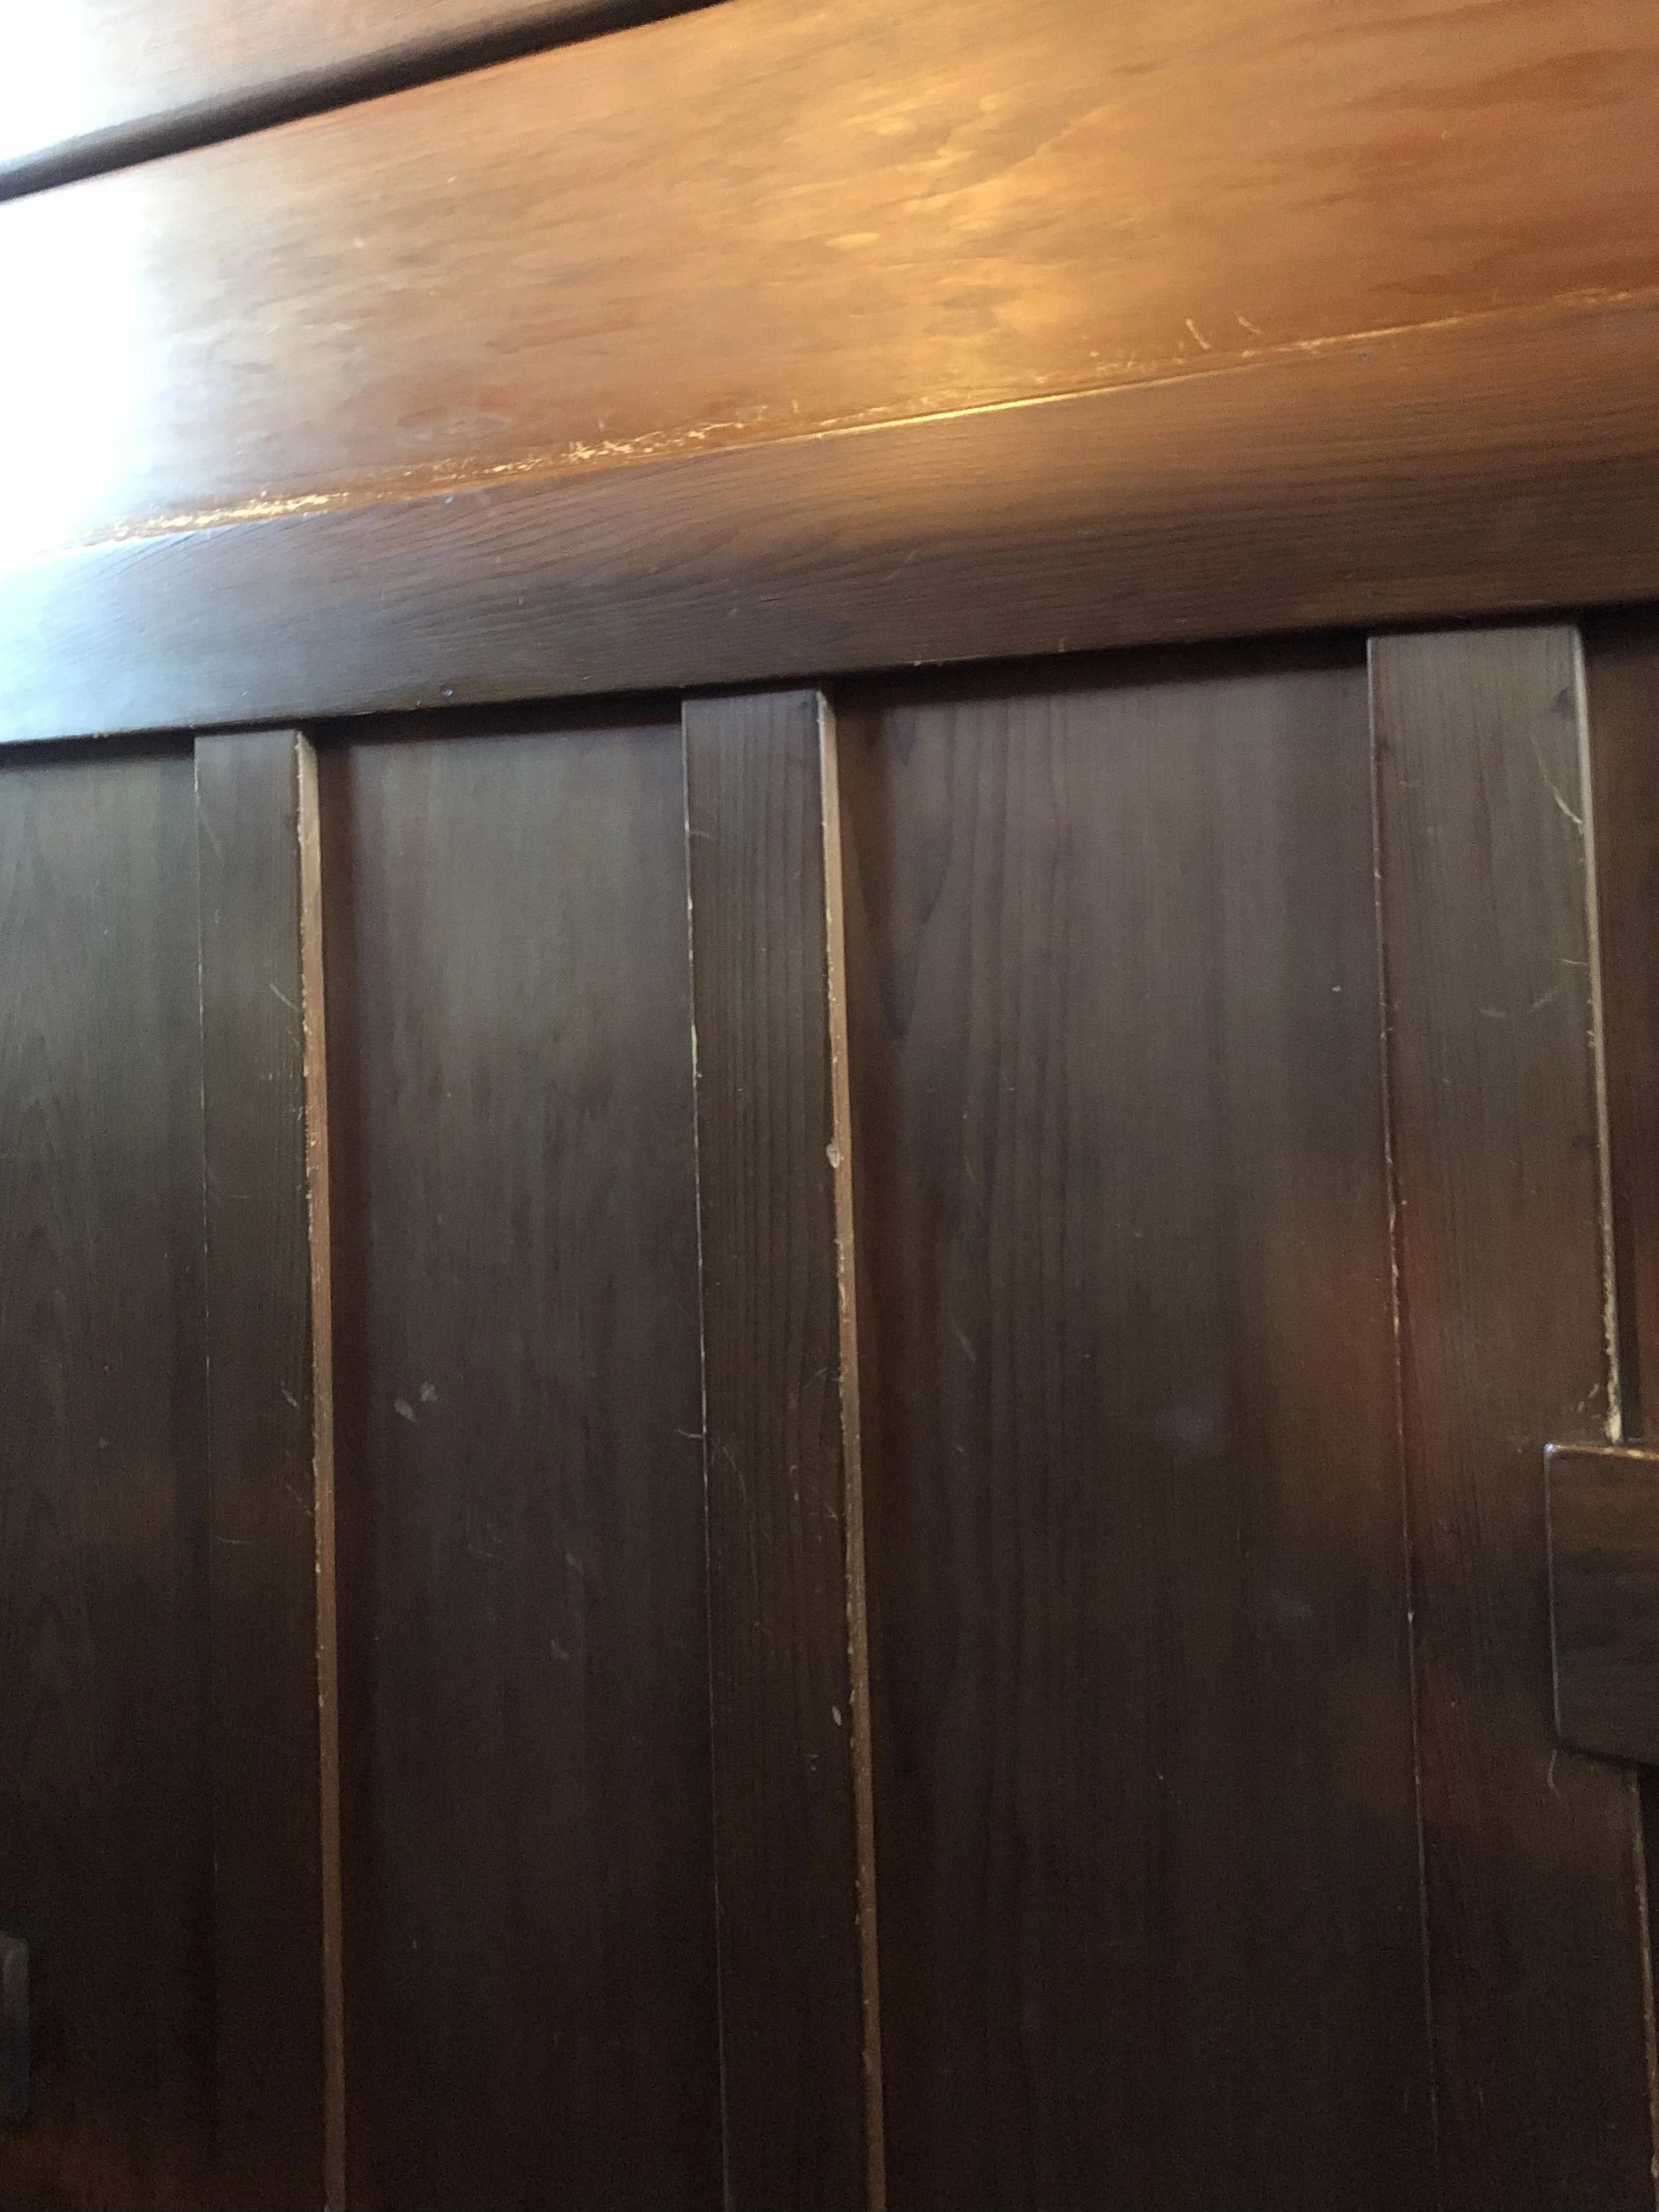
On top of that, we had to determine the dimensions and spacing of the battens, the degree of reveal from the face of the rail to the face of the boards and of the battens, what gets an eased edge (softened by sanding the sharp corner), etc. This really kept me up at night. Below is the board and batten paneling from the service porch of the Gamble House showing many of these refinements.
Then they did a test to see how big the groove had to be to hold up a plate, shown below. I brought over my fattest plate to check it (groove was too small this time).
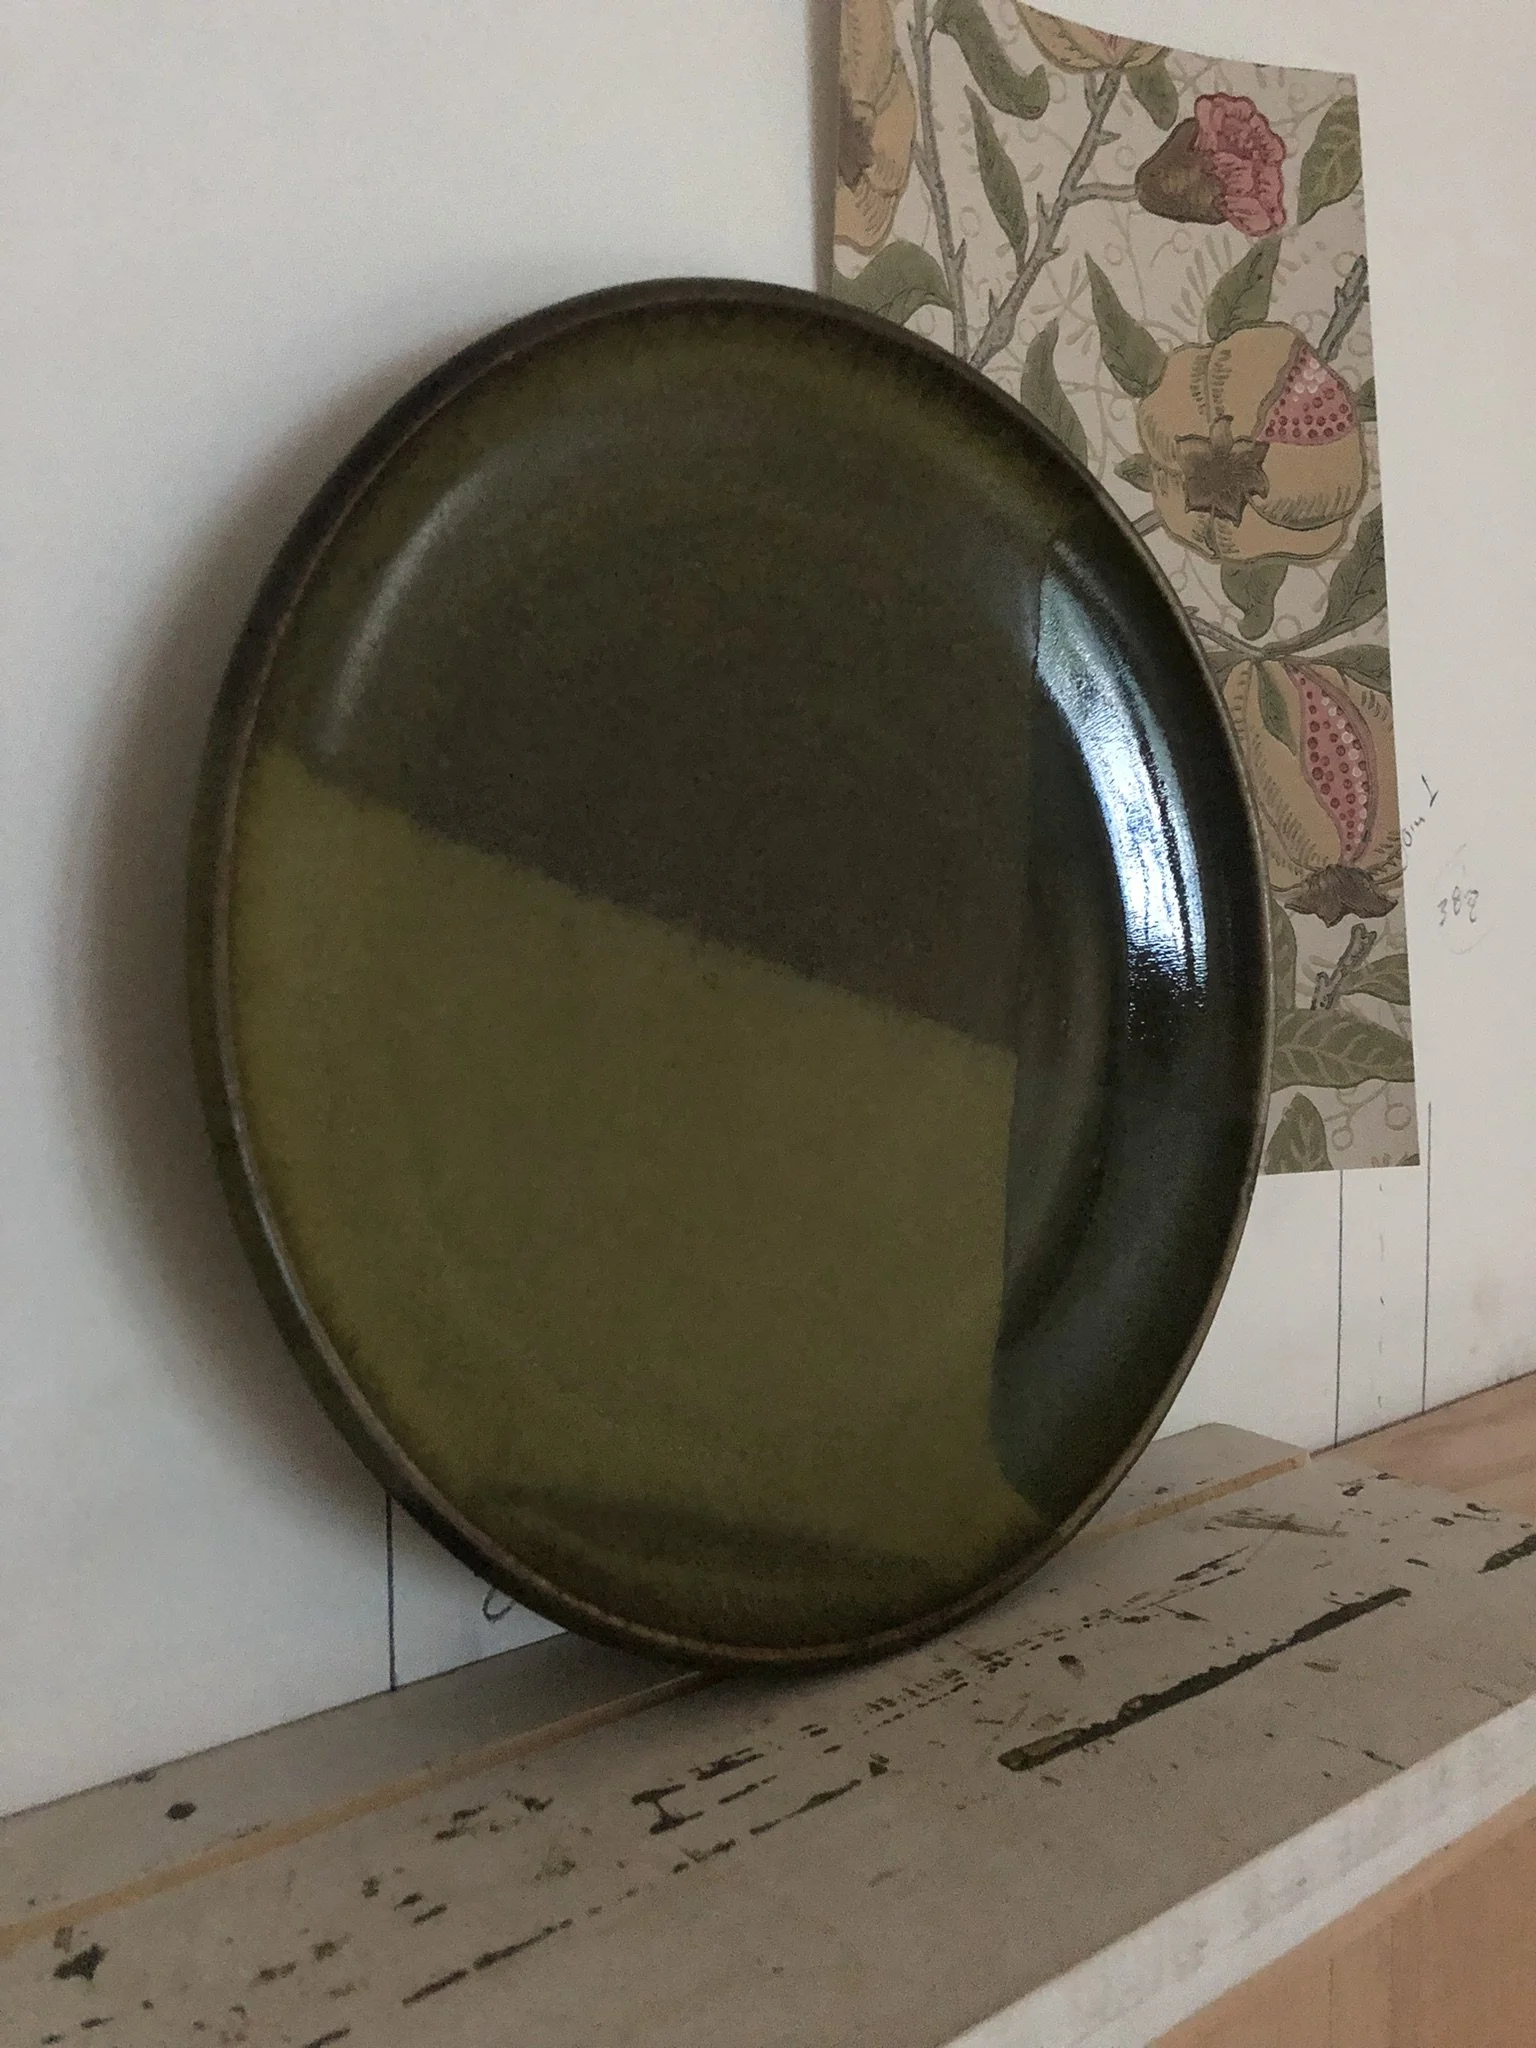
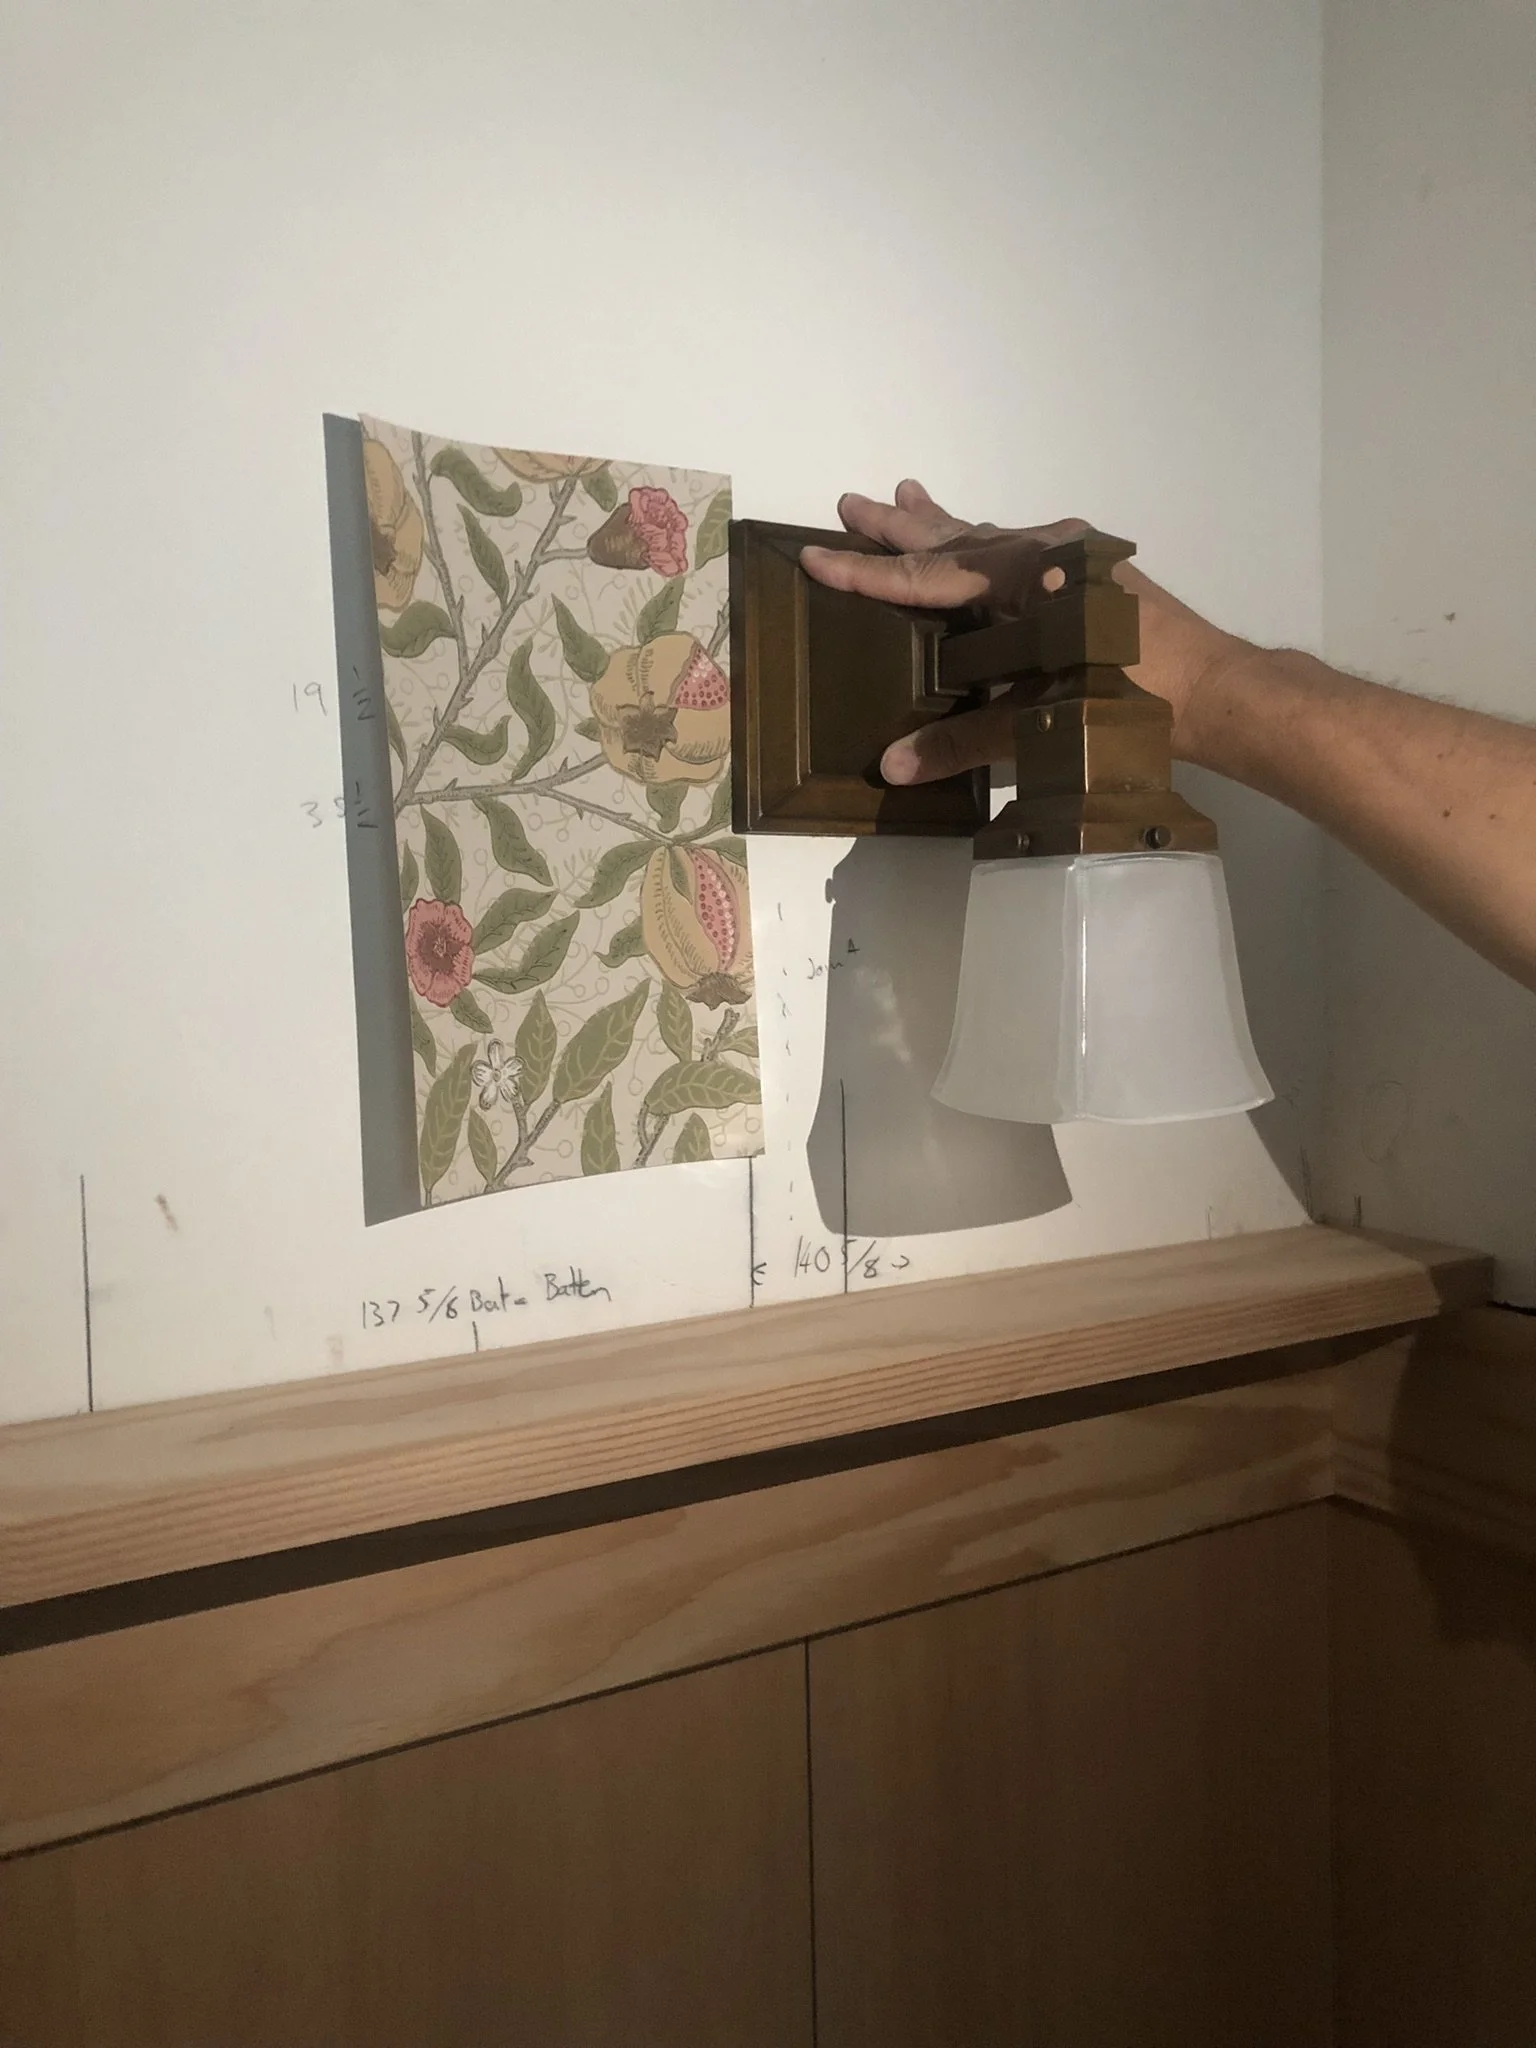
Then things really got exciting when I had to hold my breath and go get a sconce from the garage to make sure it wasn’t going to sit with its shade too close to the plate rail! These fixtures can be mounted in either direction (shade up or down), but I know I want them to face down, like they’ll be in the matching pendant in the middle of the room. That’s the wallpaper that we’ve chosen for this space, too—looks good with the metal finish that I chose months and months ago! Whew! (The wallpaper is Morris & Co., “Fruit” in limestone/artichoke.)
We limited the plate rail (the little shelf) to one side of the room since it was too complicated to resolve how to fit it against door casing and too fussy to have around the outside corners at the window nook. It gets the point across!
The wainscoting itself is constructed of plywood panels with a tight vertical grain Douglas fir veneer. The rail (horizontal top piece) and baseboard are freer face-grain Douglas fir. I think the contrast in the grains should be interesting, and the boards being vertical grain will cut down on the visual noisiness of all the other fir in the living and dining rooms. I cannot wait to see all this stained—I’m getting impatient. At this point, they have done one pass at it and it needs a second coat, so we are not yet there with the full effect.
We have also added a different, more utilitarian style of wainscoting in the back door hall (off the kitchen) and in our new bathroom. For these, we had 5” tongue and groove siding milled. The standard offerings were too narrow for the look we wanted, but fortunately the custom sizing didn’t really add to the cost.
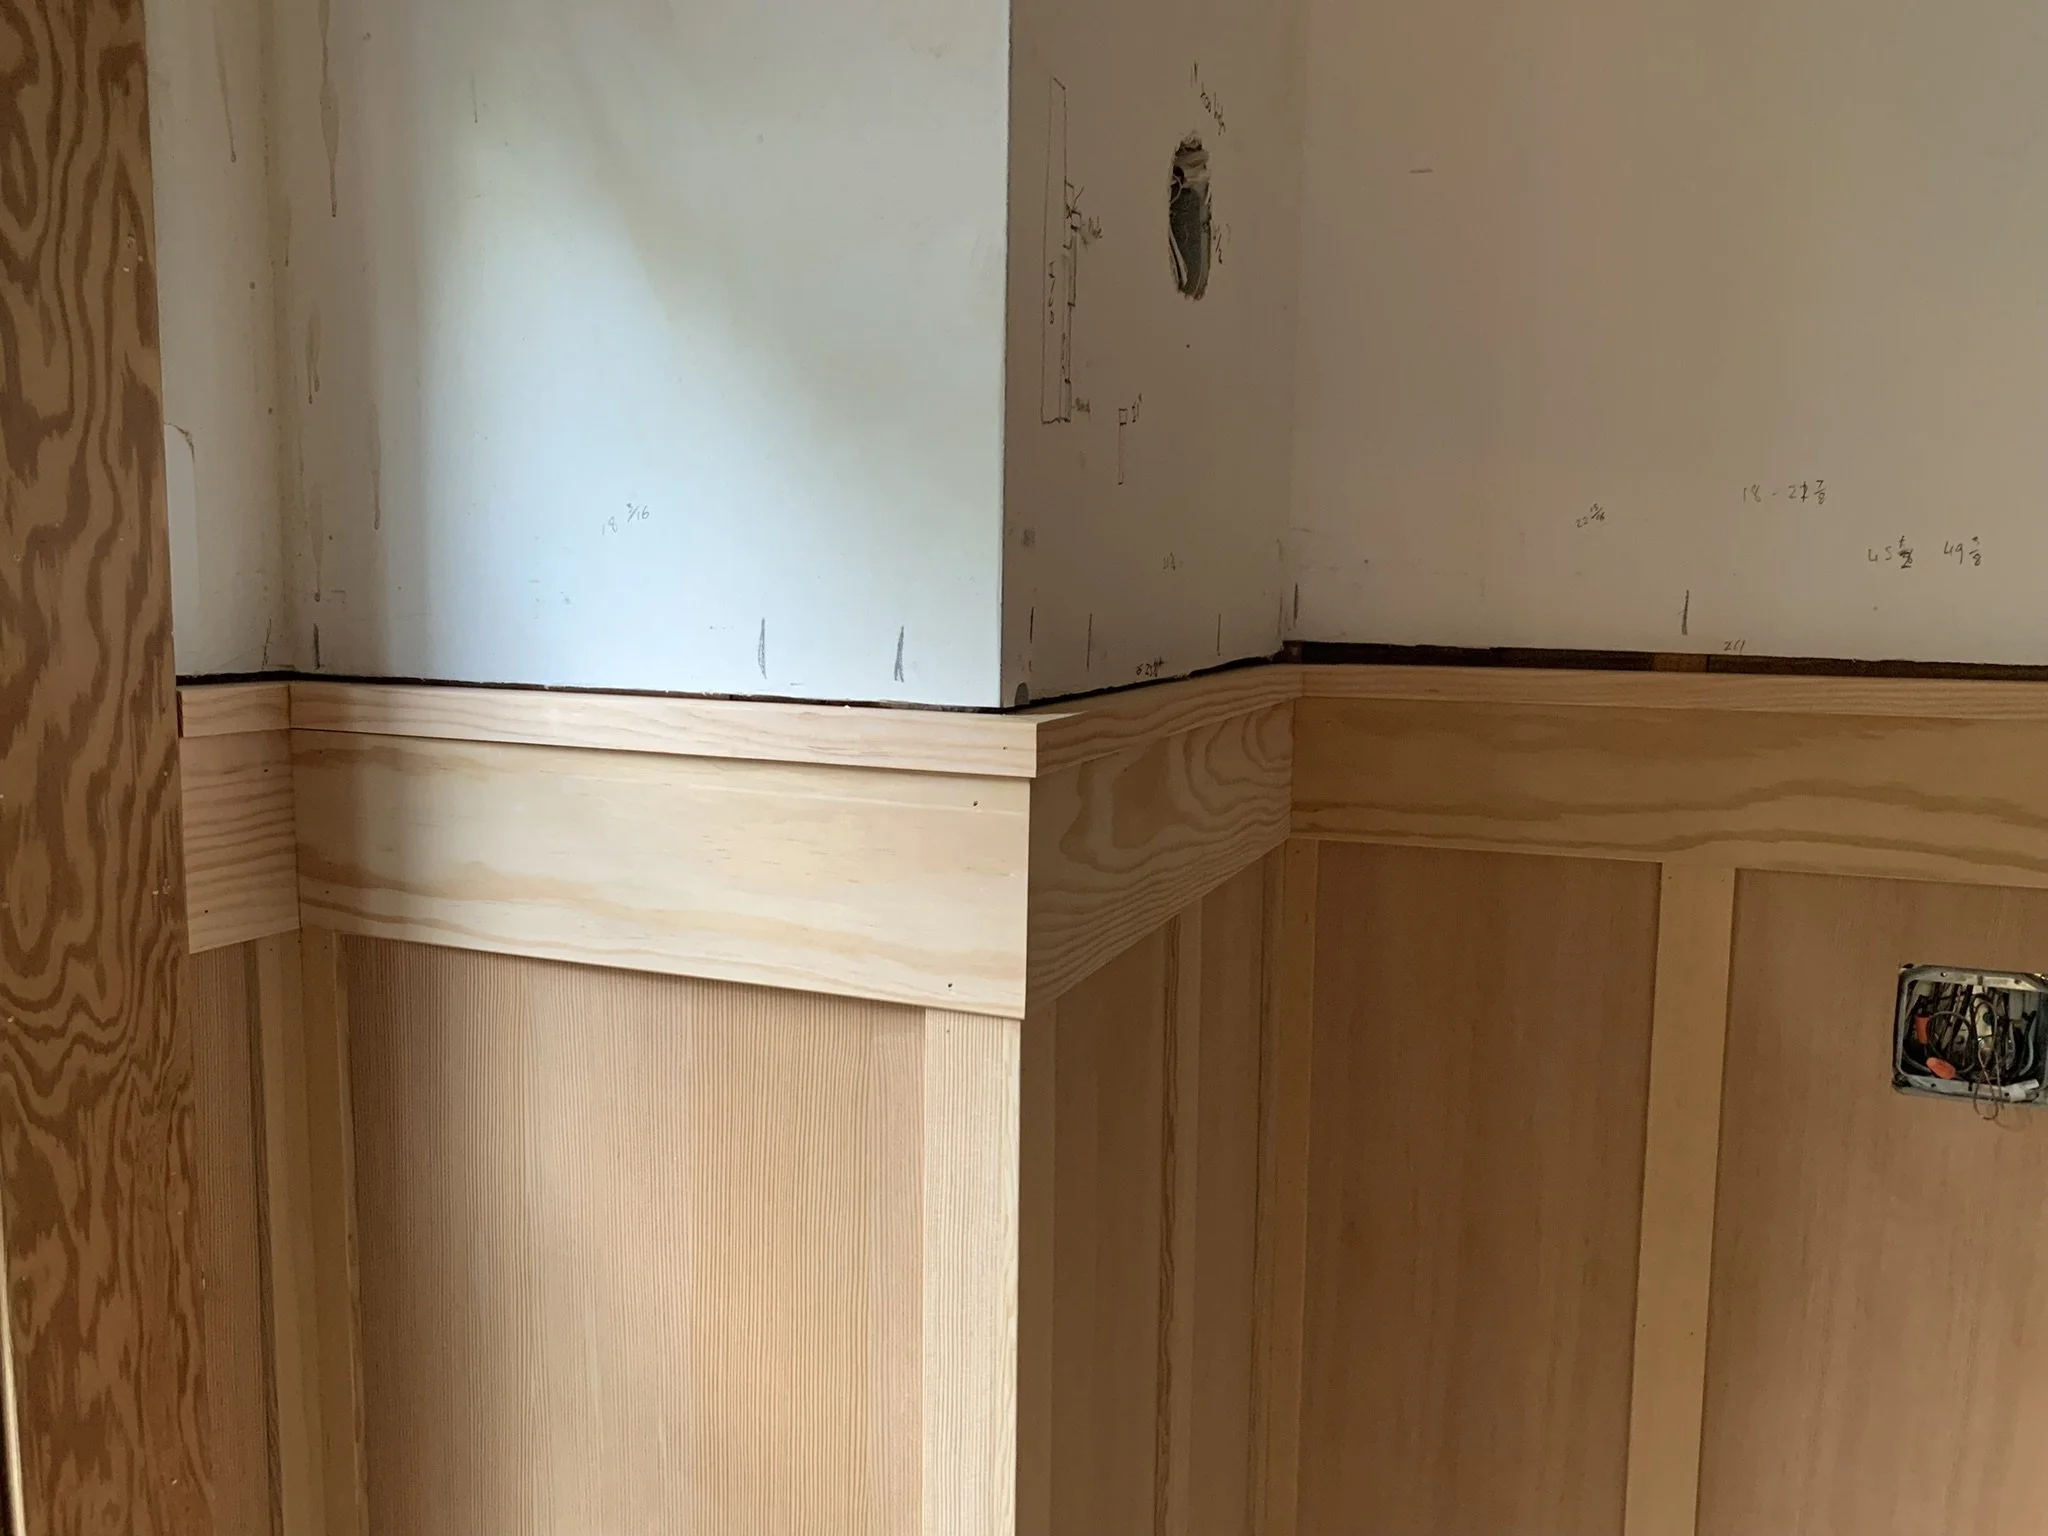
The tricky thing to get right here was the top rail. I didn’t want it to look like a big, thick board stuck onto the wall. It needed to be thicker at the top and then cut back toward the bottom so as not to create a big "shelf” underneath.
We tried a lot of combinations and sizes. Here’s some of the process. We spent a lot of time picking up pieces of wood around the site and seeing what might look okay.
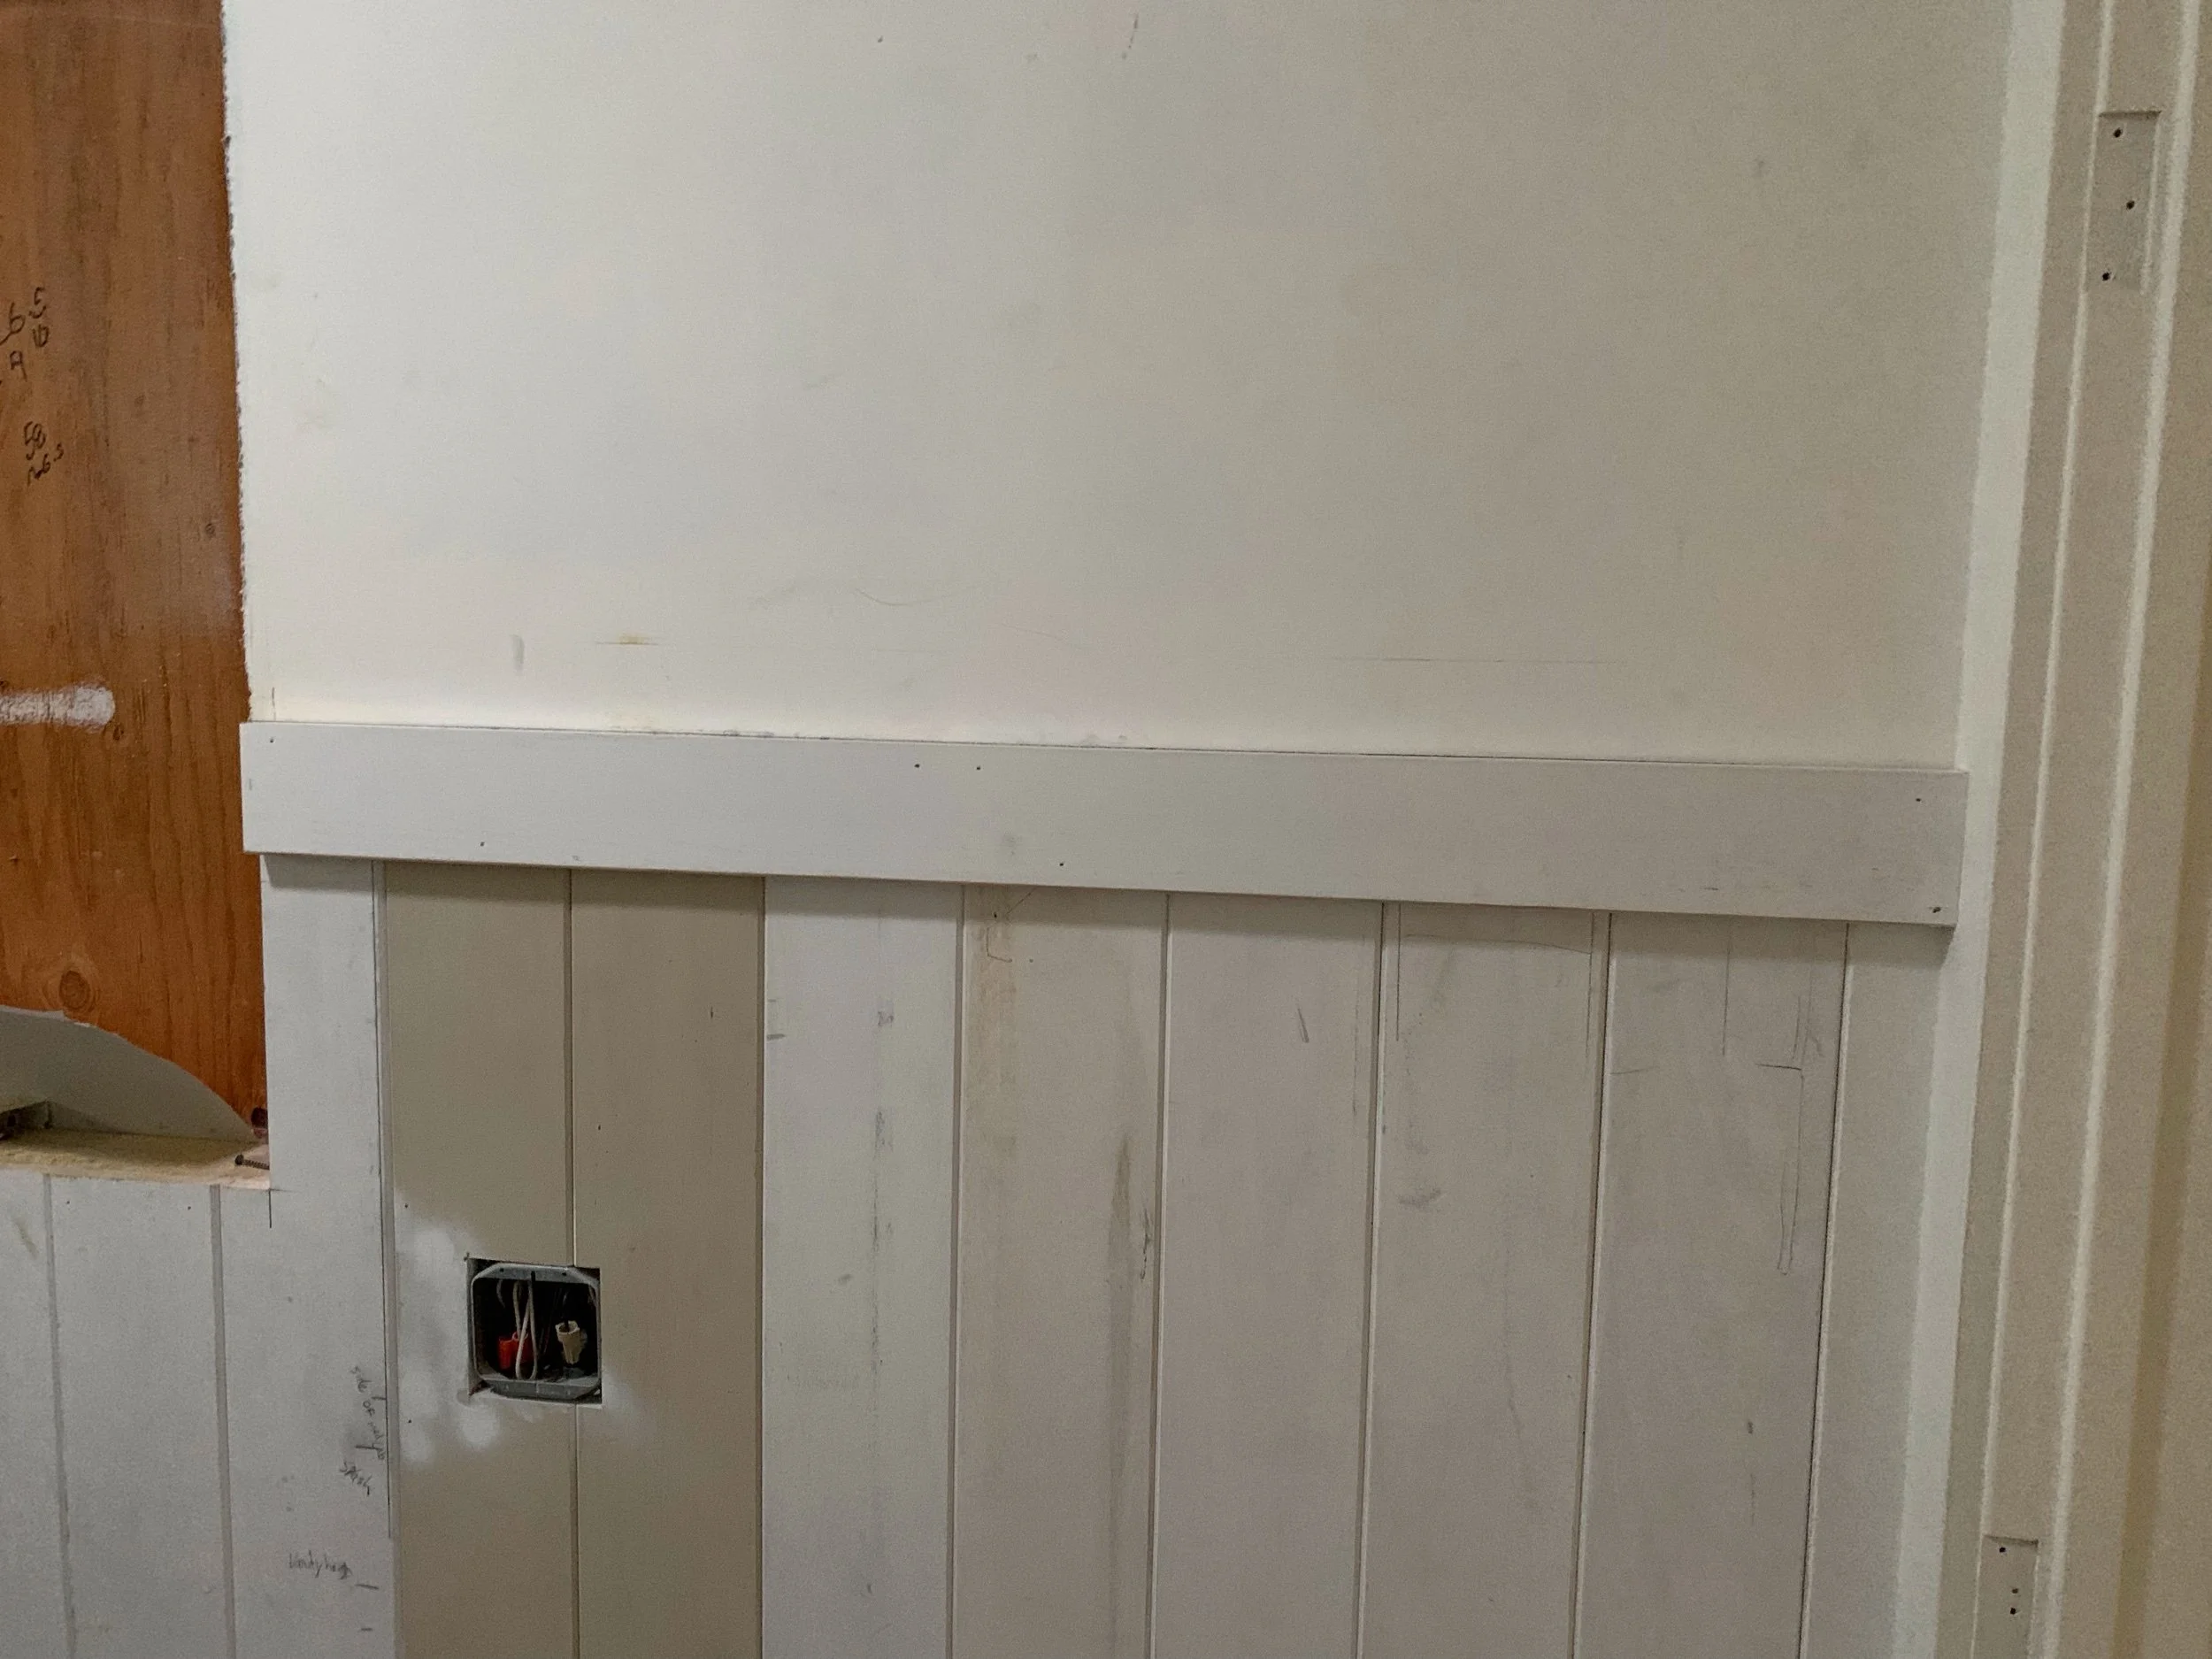

Here, below, is where we ended up. I liked the idea of the plain board (just above, left), but it caused too many problems with too much overhang underneath and too much thickness where it met the side of the door casing. So our contractor suggested looking at chair rail profiles, and that got us where we needed to be:

Thank you, professional guidance!

The struggle to get to the end of this project continues, fifteen months in! I mean, it’s a struggle for us, four people living in an 850 sf apartment, to be patient. But everyone on site is going about their days, doing their jobs, and sometimes redoing them when we change our minds about the color of a perfectly completed paint job (today in our room) or when something expertly installed turns out to have arrived from the shop with a fatal flaw in the profiles and edges.
Next up: More staining of wood! Painting cabinets! Cutting kitchen countertops! Finishing oak floors! Maybe some light fixtures and switches and outlets! Just a few minor details—you know.