
Fully Sheathed
As of this week we have a fully framed roof, consisting of rafters, 1”x4” nailing strips, and plywood sheathing, to which shingles will soon be applied! The one part of that equation that’s a little contrived is the 1x4 strips. These were not necessary on the new parts of the roof, but we needed to keep it going from the old parts of the roof for a variety of reasons. I will now attempt to explain.
The 1x4s came into the “sandwich” of our roof as nailing strips for the original, long-gone, wood roof shingles. You may recall that our exterior walls featured nailing strips attached directly to the studs, then a layer of shingles, and that was it. Same thing was the case on the roof, in the days before sheets of plywood became the standard for roof sheathing (here is some plywood history!). The rafters carried the 1x4s, and the rows of individual cedar shingles were nailed directly to them.
The nice thing about these nailing strips is that they extend to the edges of the roof, forming an attractive pattern in the eaves (our cheapo 1990s garage just has flat plywood when you look up into the eaves). The addition will have even more exposed eaves than the original house because of the open roof over the small deck that overlooks the back yard. So it was important to find a way to finish these eaves that would look good and be consistent with the rest of the original roof. The solution was to continue the 1x4 strips through the added and altered portions of the roof (where they would not be necessary because today, shingles are nailed right to plywood (with a thin felt-like underlayment in between). This is how the main roof had evolved anyway: the original shingles had been removed and the 1x4 nailing strips stayed in place, and then plywood sheathing was attached over them. This has been a pain for the carpenter, but he really thought this was the way to go, and we agreed. It’ll look great.

Old (painted) and new (unpainted) nailing strips exposed in the eaves.
One design decision about the roof needed to be made. The old roof is 26 years old and really showing its age (and shedding down granules every time it rains). It’s a dull light gray and those shingles are CHEAP and very flat. The light color is good for energy efficiency because of its reflectivity, but today there is more color range for energy-efficient roofing. Lots of companies make something called “cool roof” shingles that meet certain standards with the state and county, so you can have a medium-brown roof that reflects like a lighter color roof. This was a pretty simple decision. We went to the roofing yard, practically here in the neighborhood, on Saturday morning to talk to them about what is available in stock and they gave us a list of a few addresses where those shingles had recently been installed so we could go look at them. We’d decided by the end of the day. Whenever there is an opportunity to make quick work of a decision, we embrace it. Just give us the brown one, please.

Below the roofline, things are really shaping up now that the spaces are all enclosed!


The unsheathed part of the roof at left will become an open trellis over the walkway. It’s taken some time on everyone’s part to work out the details. More on that area later.
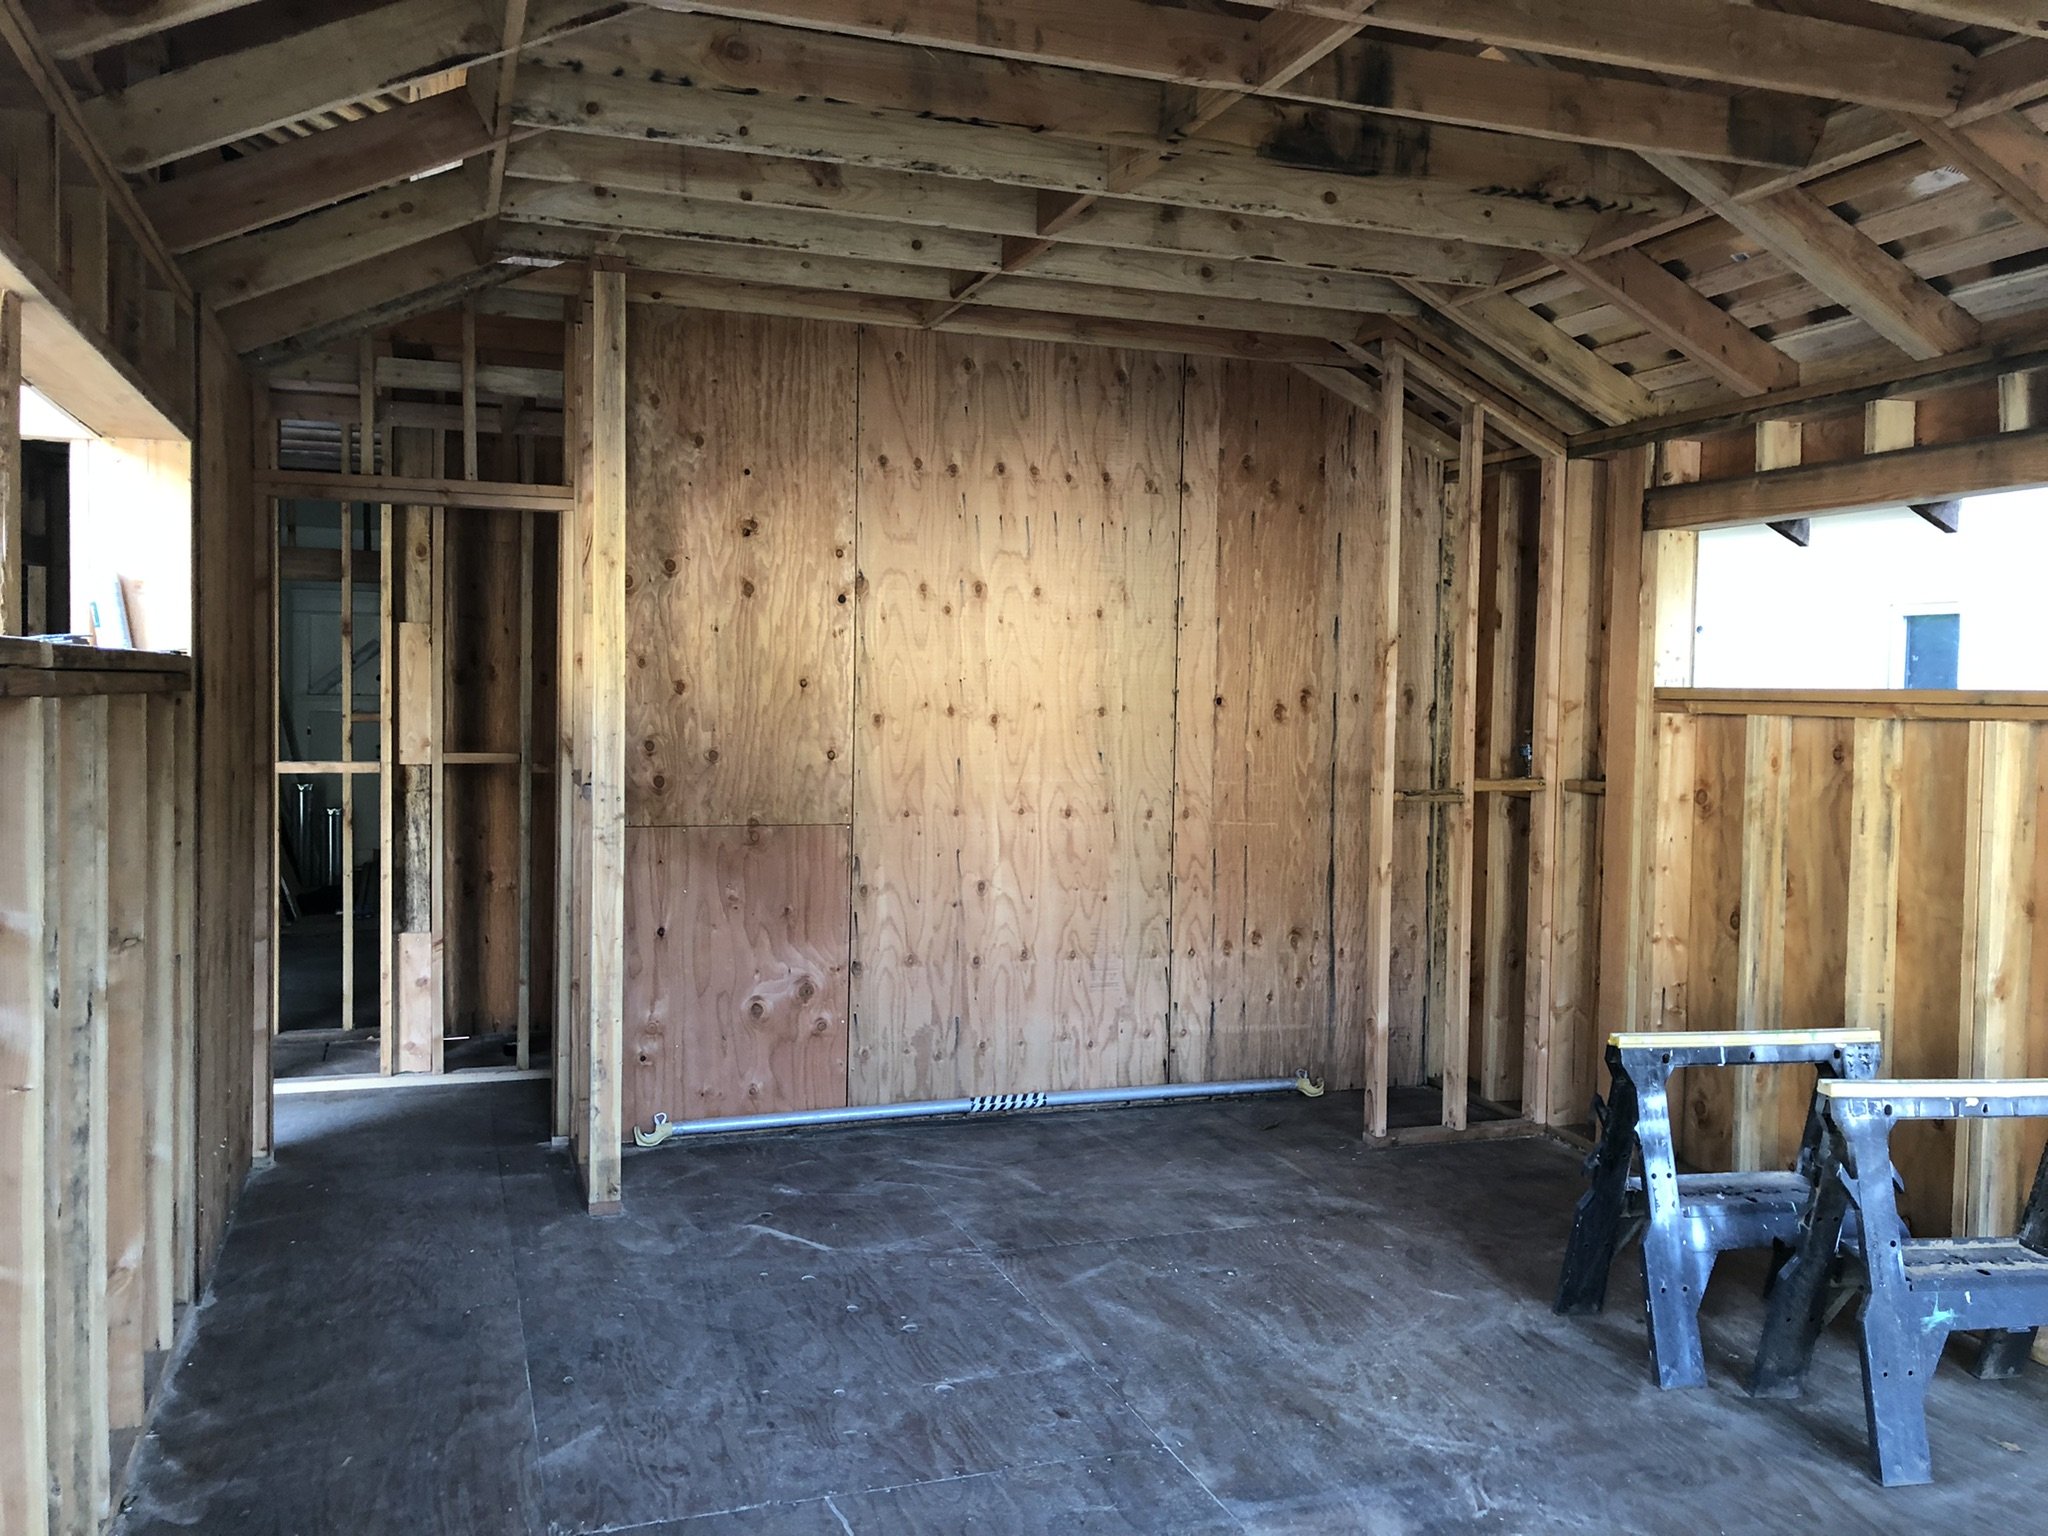
Inside the bedroom. It’s a wonderful space! That will be the closets at the end, and the door to the room is on the left.

The “nook” of the bedroom, with windows on three sides.
The other thing that happened recently was the latest visit from the demo crew on a Saturday morning to remove the rest of the old shingles and nailing strips. This opened up a gaping hole on the front façade below the main gable! When the contractor came in on Monday, he added some wood up there, which you can see in the second photo (right). Sometimes it’s a little shocking to see how little is holding up this house!


Here is a close view at the bottom of the studs, looking at the back side of the plaster (and the “keys” that hold it in place—the places where it blobs in through the spacing of the lath (NOT LATHE! That’s a wood turning machine and rhymes with BATHE) and dries like that to grip to the wall). The continuous piece of wood is the sill, to which the studs are attached. Below that is the ends of the diagonally-laid boards of the subfloor. Those black wires passing into the wall are original wiring for one of the few outlets originally supplied to the living room. No need for a junction box in 1910! Just an insulated wire fed into the back of the outlet! You can recognize the original outlets in a house of this era because they are located down in the wood baseboard, not above it in the plaster at a height of about a foot, as you’d expect to find an outlet placed today.
This week we also met with the electrician to refine the placement of ceiling lights, switches and outlets. It was so helpful to see them in the space rather than just on a drawing. Naturally, that ended up meaning that I have MORE fixtures to order. Other than that, we are waiting for drawings on the open part of the roof and the bathroom and visiting the site every day or two—just because we can’t believe this is going to be our house!

The pile of lumber is getting significantly smaller! The rough carpentry is nearly done.