
You’ve Got Shingles!
A number of people have said to me, “what if you decide to paint the house something other than green?” Then what of “Green and Shingled”? But when we had that conversation with my color consulting friend back in 2019, we already knew it was unlikely that the finished house would be anything but green. And the “shingled” part was a given, since we had committed to replacement of the original cladding in kind as a part of our Certificate of Appropriateness (yes, that’s a real thing that was issued for our project. Do you not spend much time at City Hall?).
We are now at the point where the exterior is getting amazingly close to being finished. Hard as it is to believe!

Each one of these shingles is destined to be nailed individually to the whole exterior of the house.
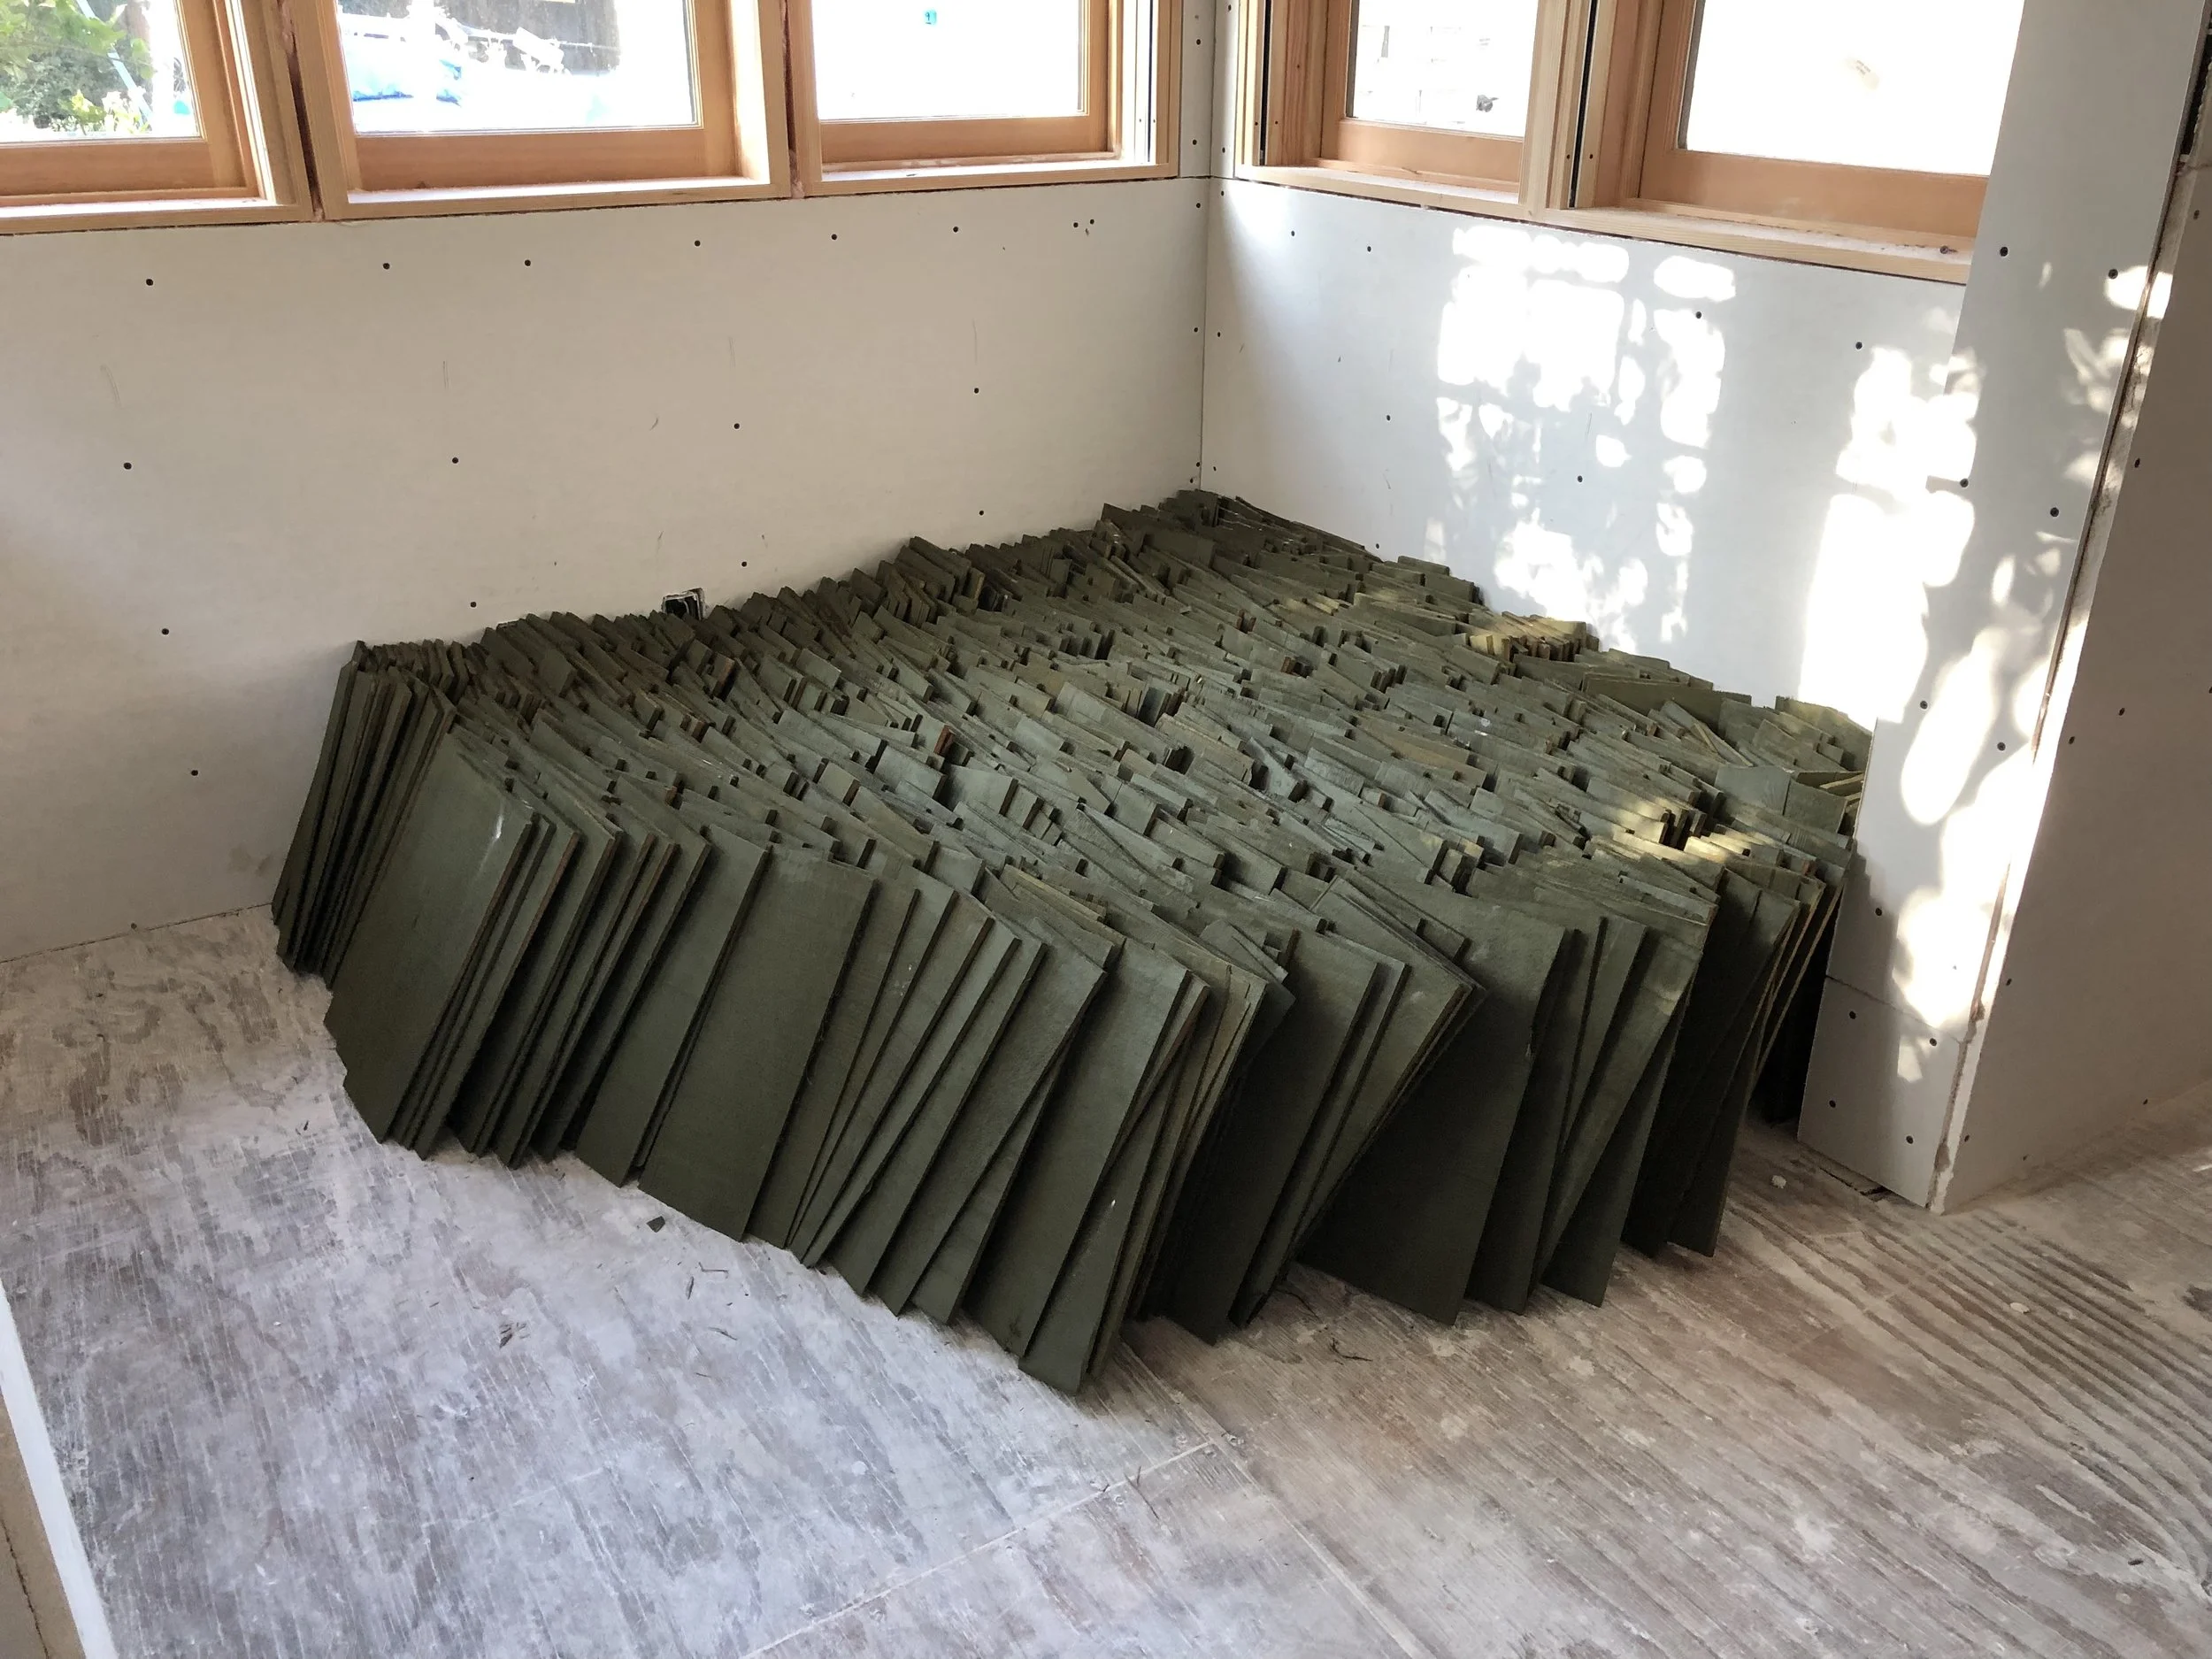
A big pallet of cedar shingles arrived on a truck one day. They had come from the Pacific Northwest, and wouldn’t you know it, like many things in the Pacific Northwest, they turned out to be damp. Too damp to paint in that condition! So they had to set up stacks and stacks of shingles, taking up the floor of three or four rooms of the house with fans blowing on them. As they registered as dry enough with a moisture meter, they were moved outside for the painters to work on.

This went on for weeks: undoing the bundles, laying them out to dry, and waiting!
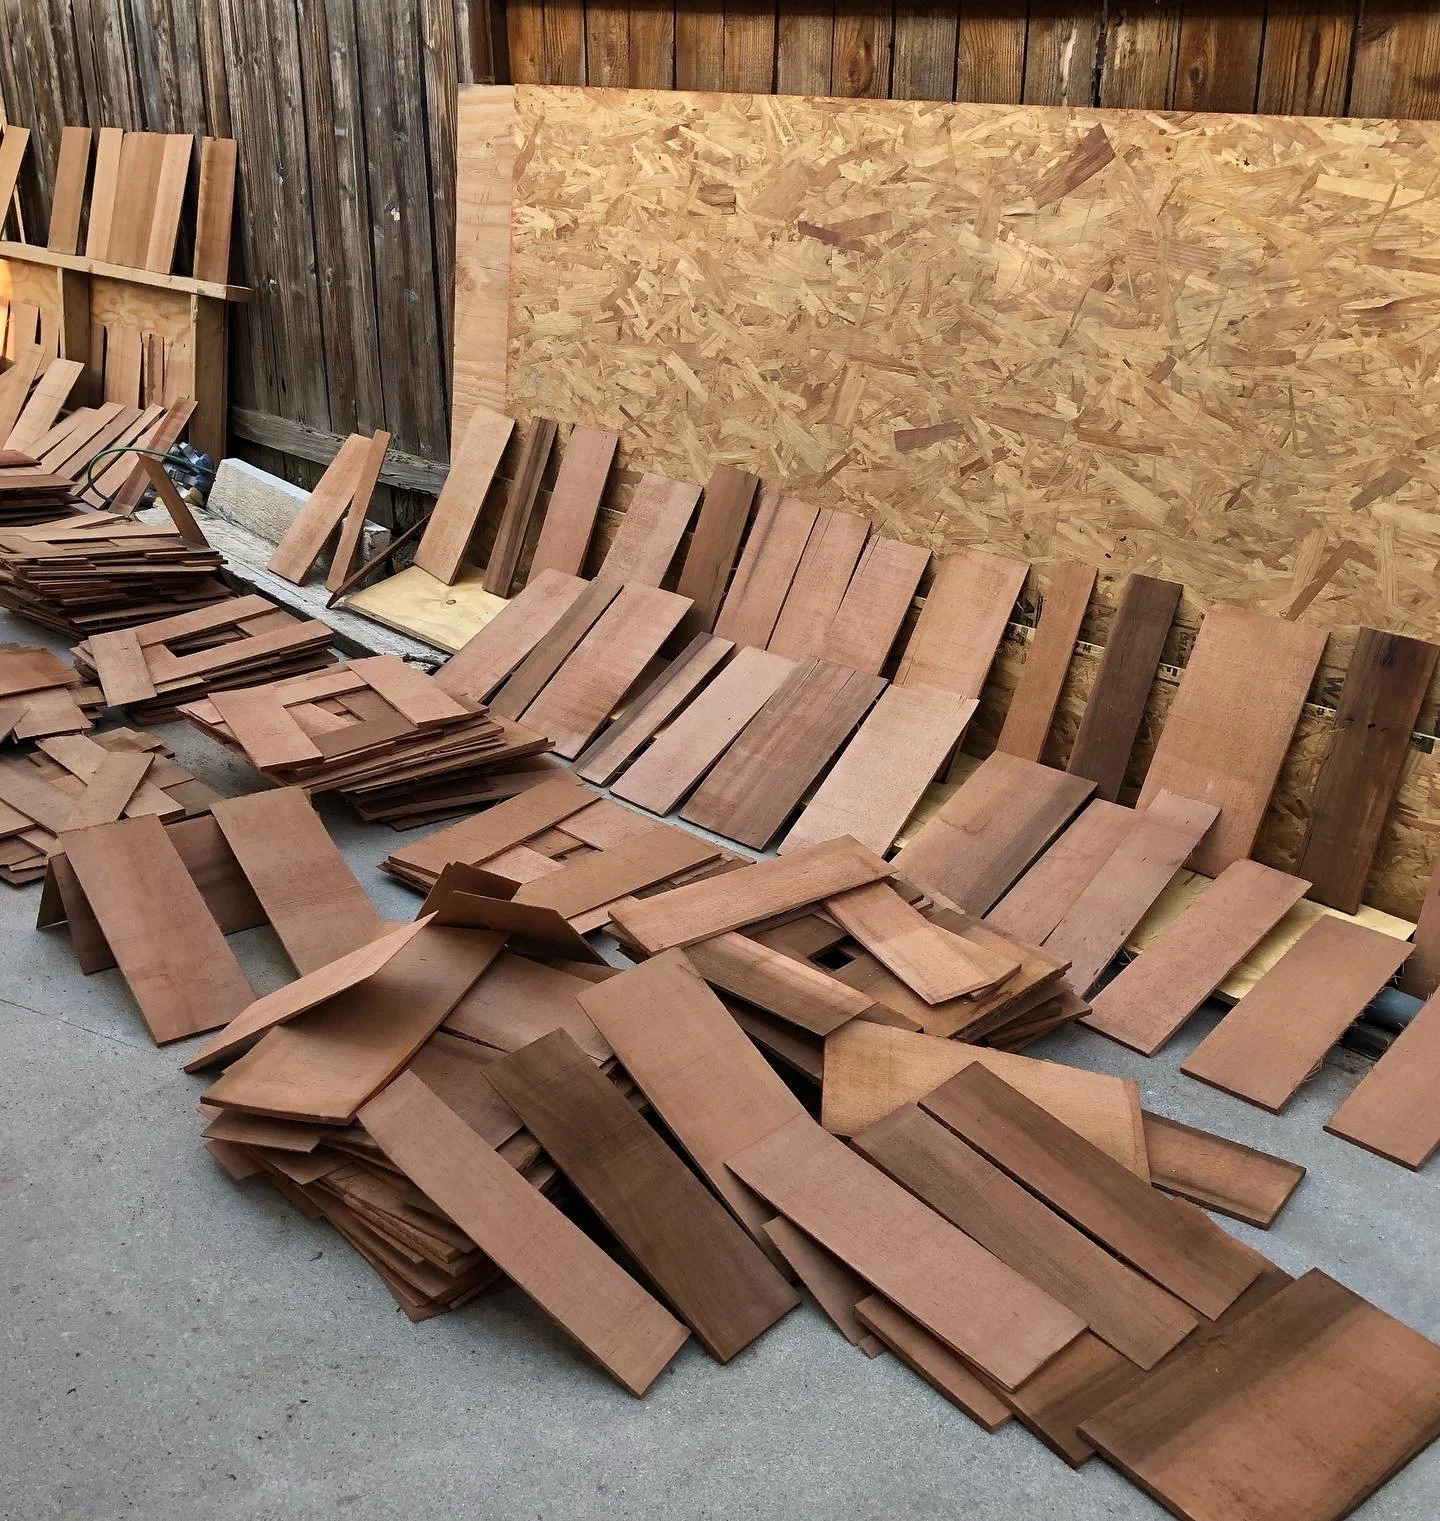
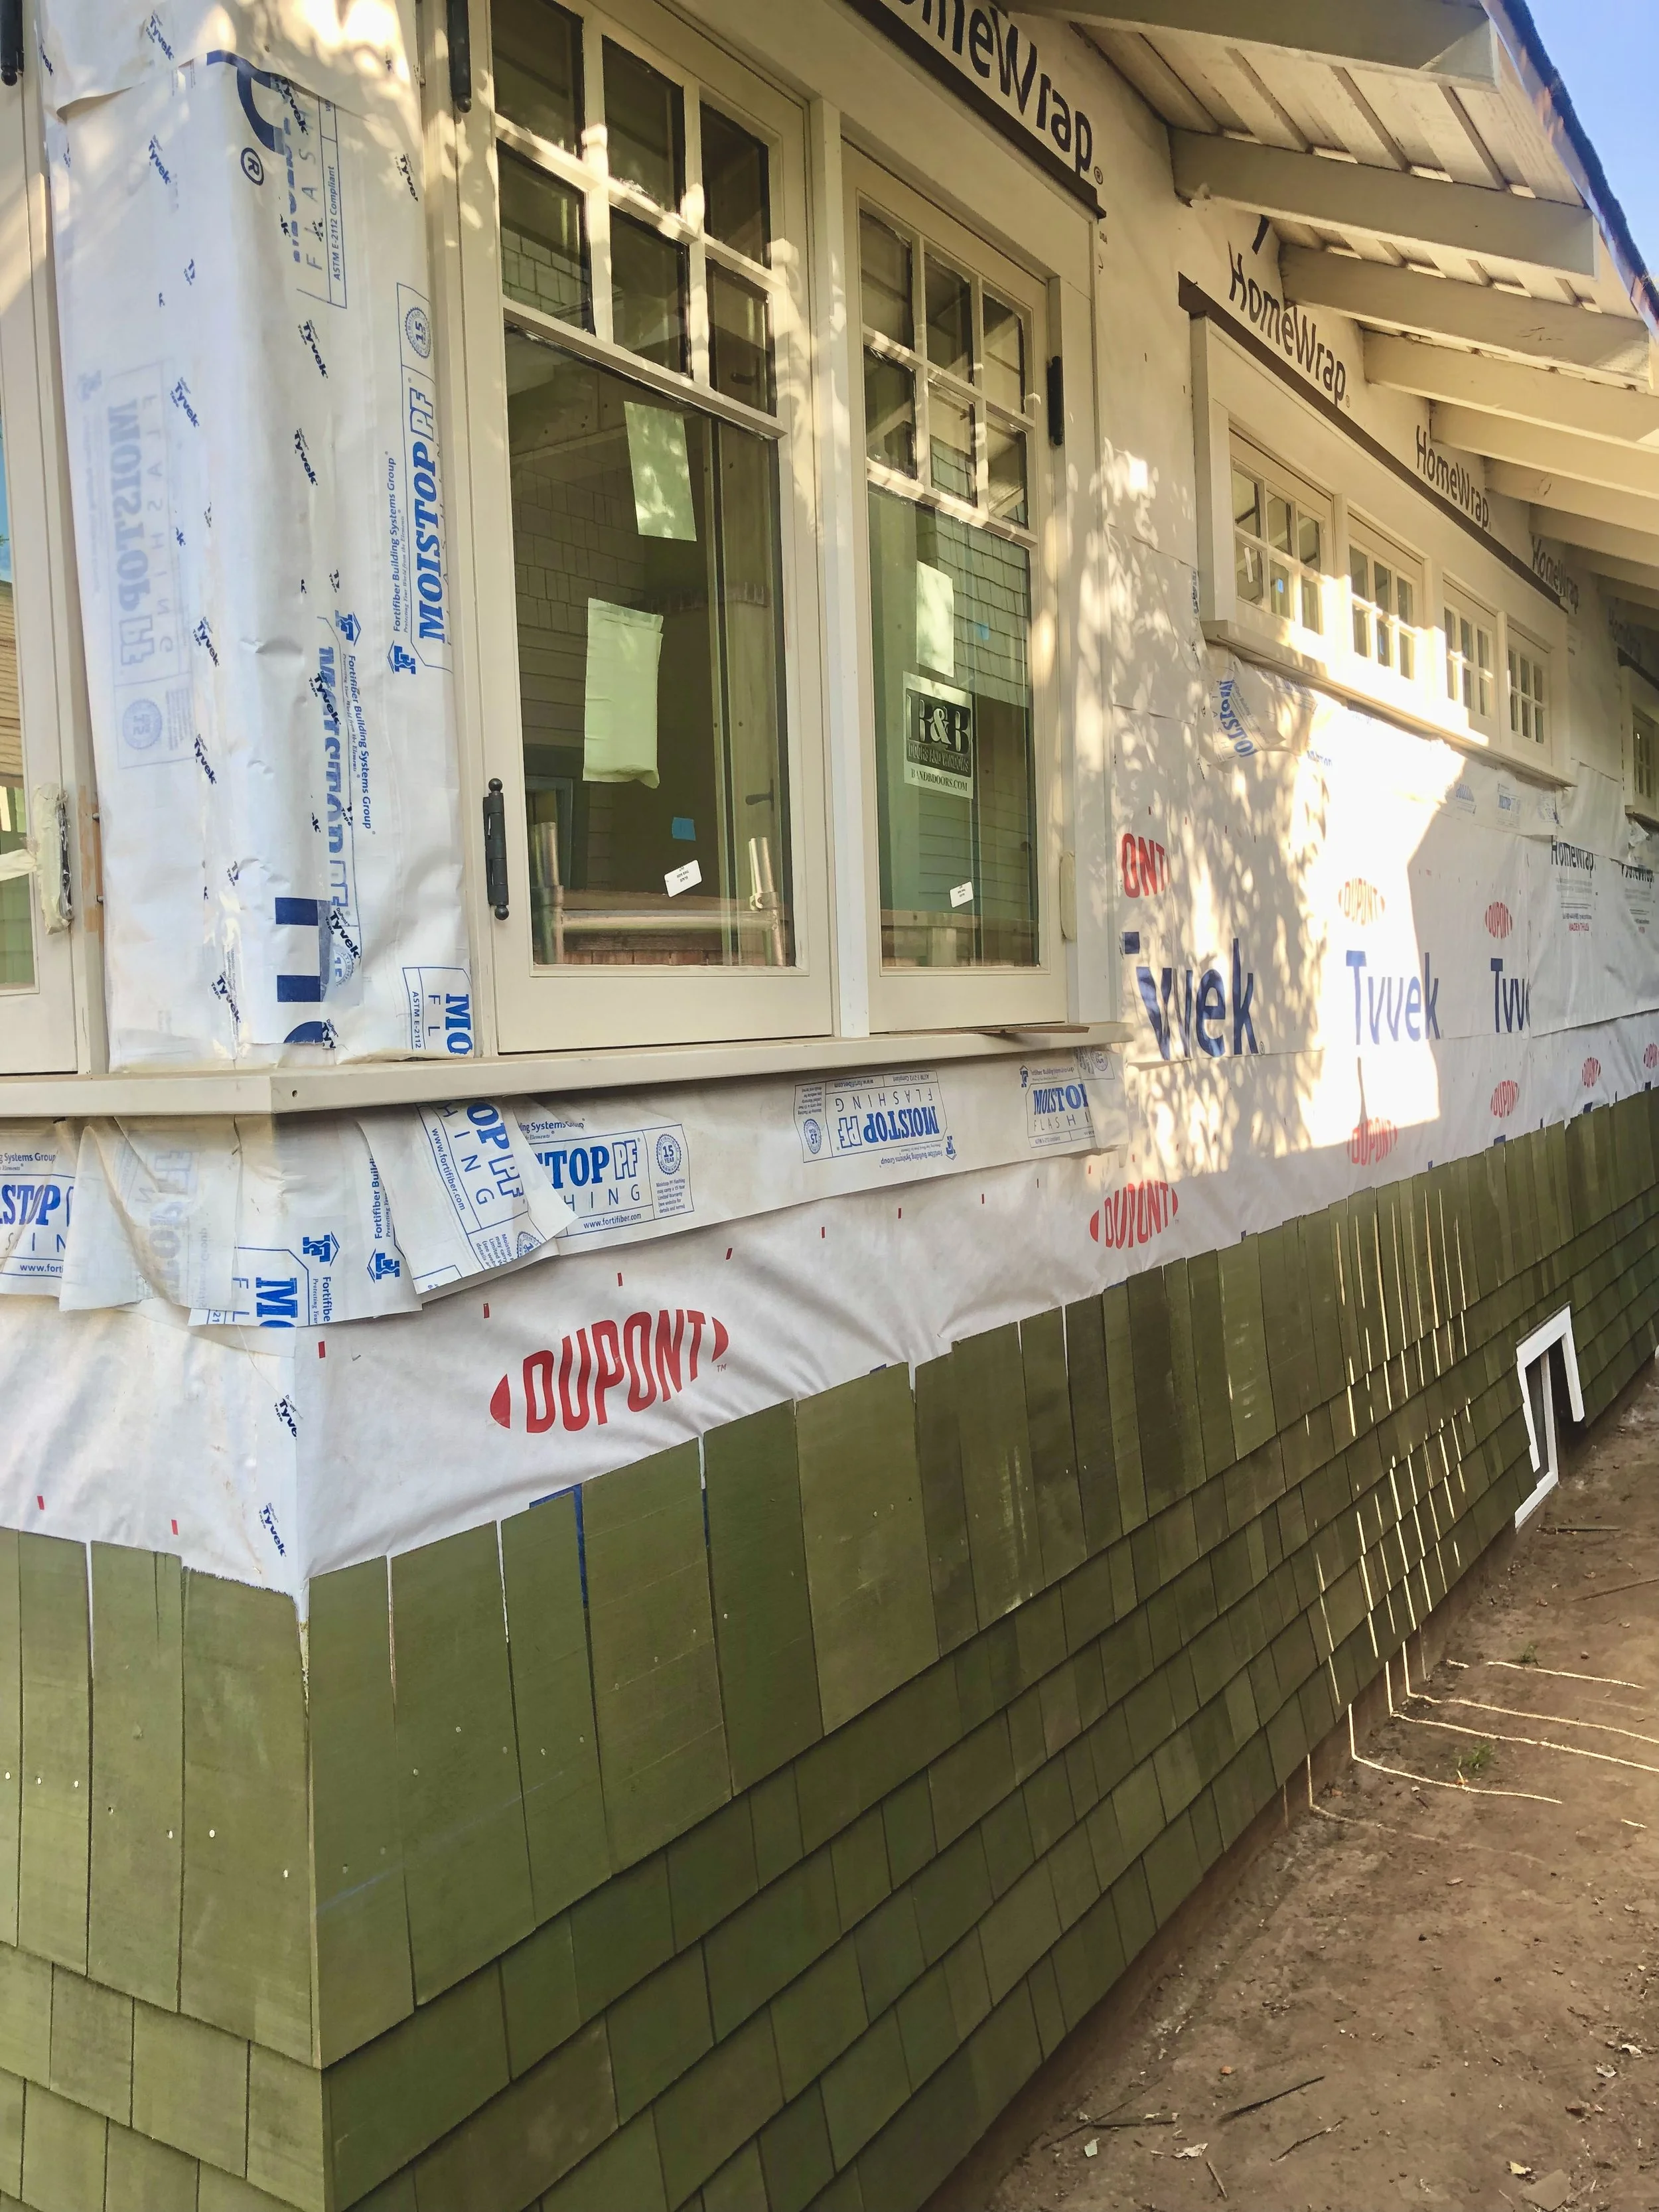
Once they were dry, the shingles were painted on both sides with one coat of the opaque stain before they were installed. This meant that we wouldn’t have to wait to see the colors come together—along with the tinted primer on the casing (Sherwin Williams Downing Sand), and, just last week, the first coat of dark paint on the sash (Sherwin Williams Greenblack), we can see clearly what the house is going to look like. The whole thing with get another coat of stain once the shingles are completed.
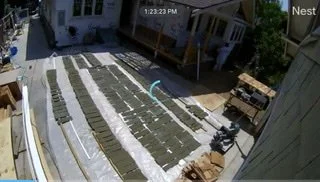
The view from the camera mounted on the garage showing the driveway covered in plastic with shingles laid out to dry. The prepared shingles were stockpiled inside, below.
They started on the back of the house to warm up their technique! Good plan.
I have had varying shades of a crisis of conscience over the replacement of the shingles. I’ve spent years telling people not to replace their old cladding materials and that the new ones are never the same. But I have known since we bought the house in 2014, eight years ago, that it would be necessary to do something major to deal with the terrible condition of the exterior cladding. I still remember looking at the shingles at the open house, our one chance to see the place before making an offer, and realizing that it was going to cost us someday.
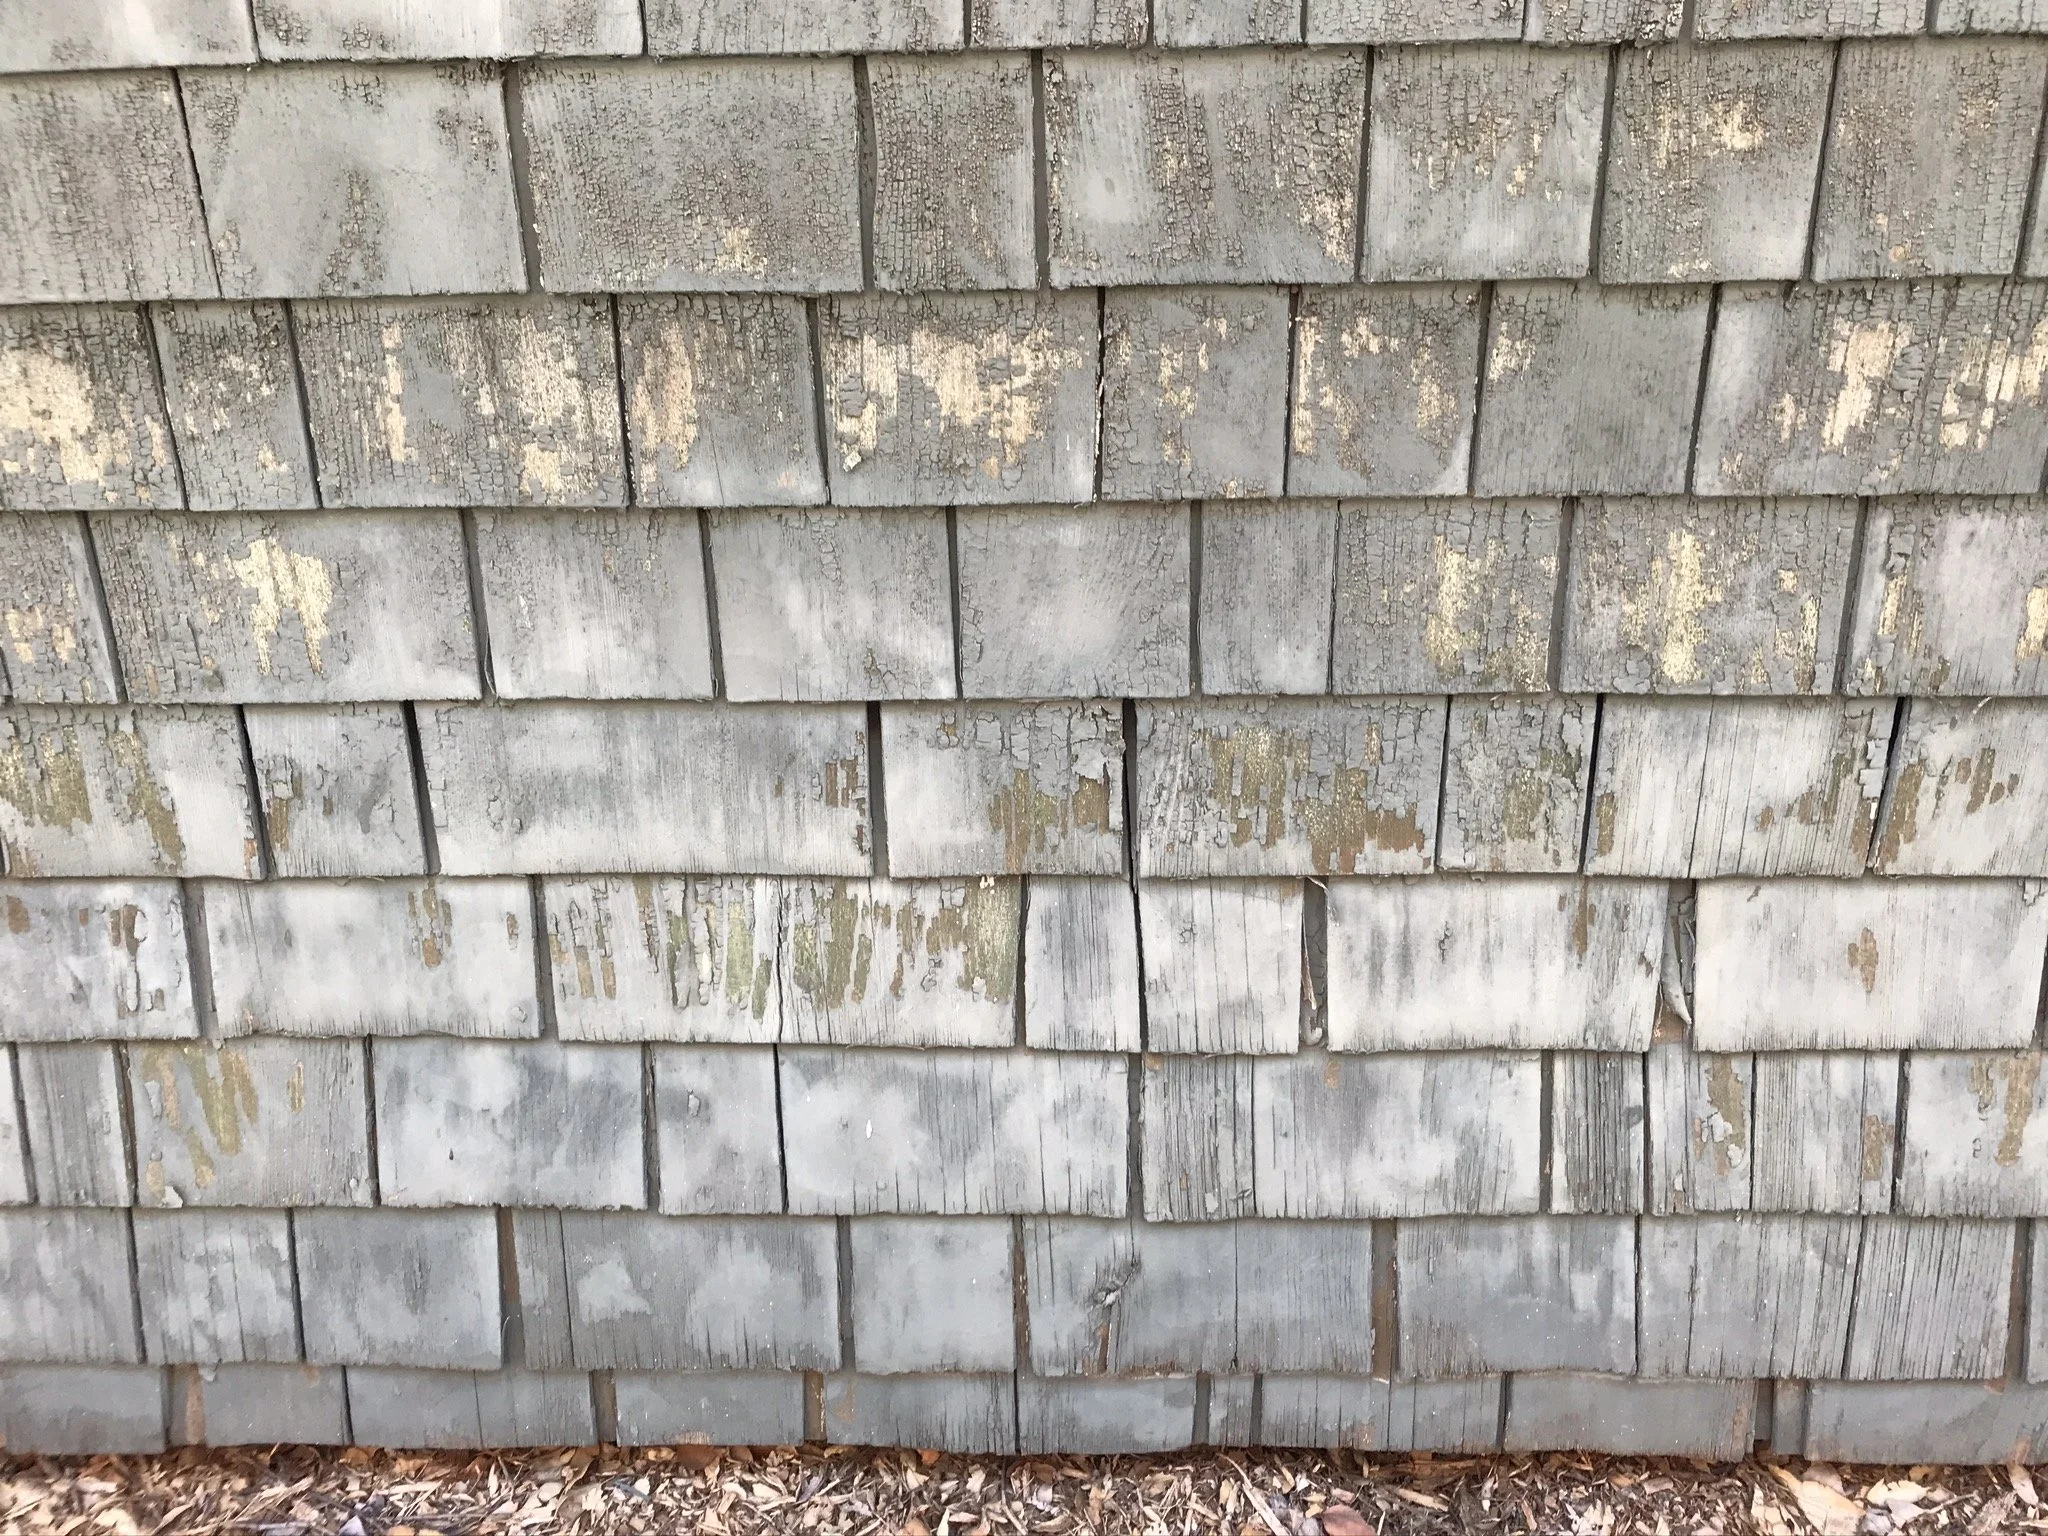
In the end, as we were planning this project, we realized that leaving the beat-up shingles in place while cladding the addition in new shingles was never going to look right. We’d have to do the whole thing. The benefits went beyond uniting the appearance of the whole house. First, renewing the outer protective cladding of the house was clearly necessary. Beyond that, it meant that a layer of plywood could be applied to increase the strength and rigidity, as well as the R-value (for energy conservation), of the house’s exterior. It also meant that we could add insulation and replace electrical systems while maintaining interior plaster.
So the old shingles and their flaking lead paint went to the bin, and GOOD RIDDANCE!!
But would the new shingle job live up to the quality that the originals had once had, even if it had been lost with the house going 30 or 40 years without a paint job? The quality of the available new materials (random-width cedar shingles) was one question. The other was the skill needed to do it properly and get results that we could be proud of.

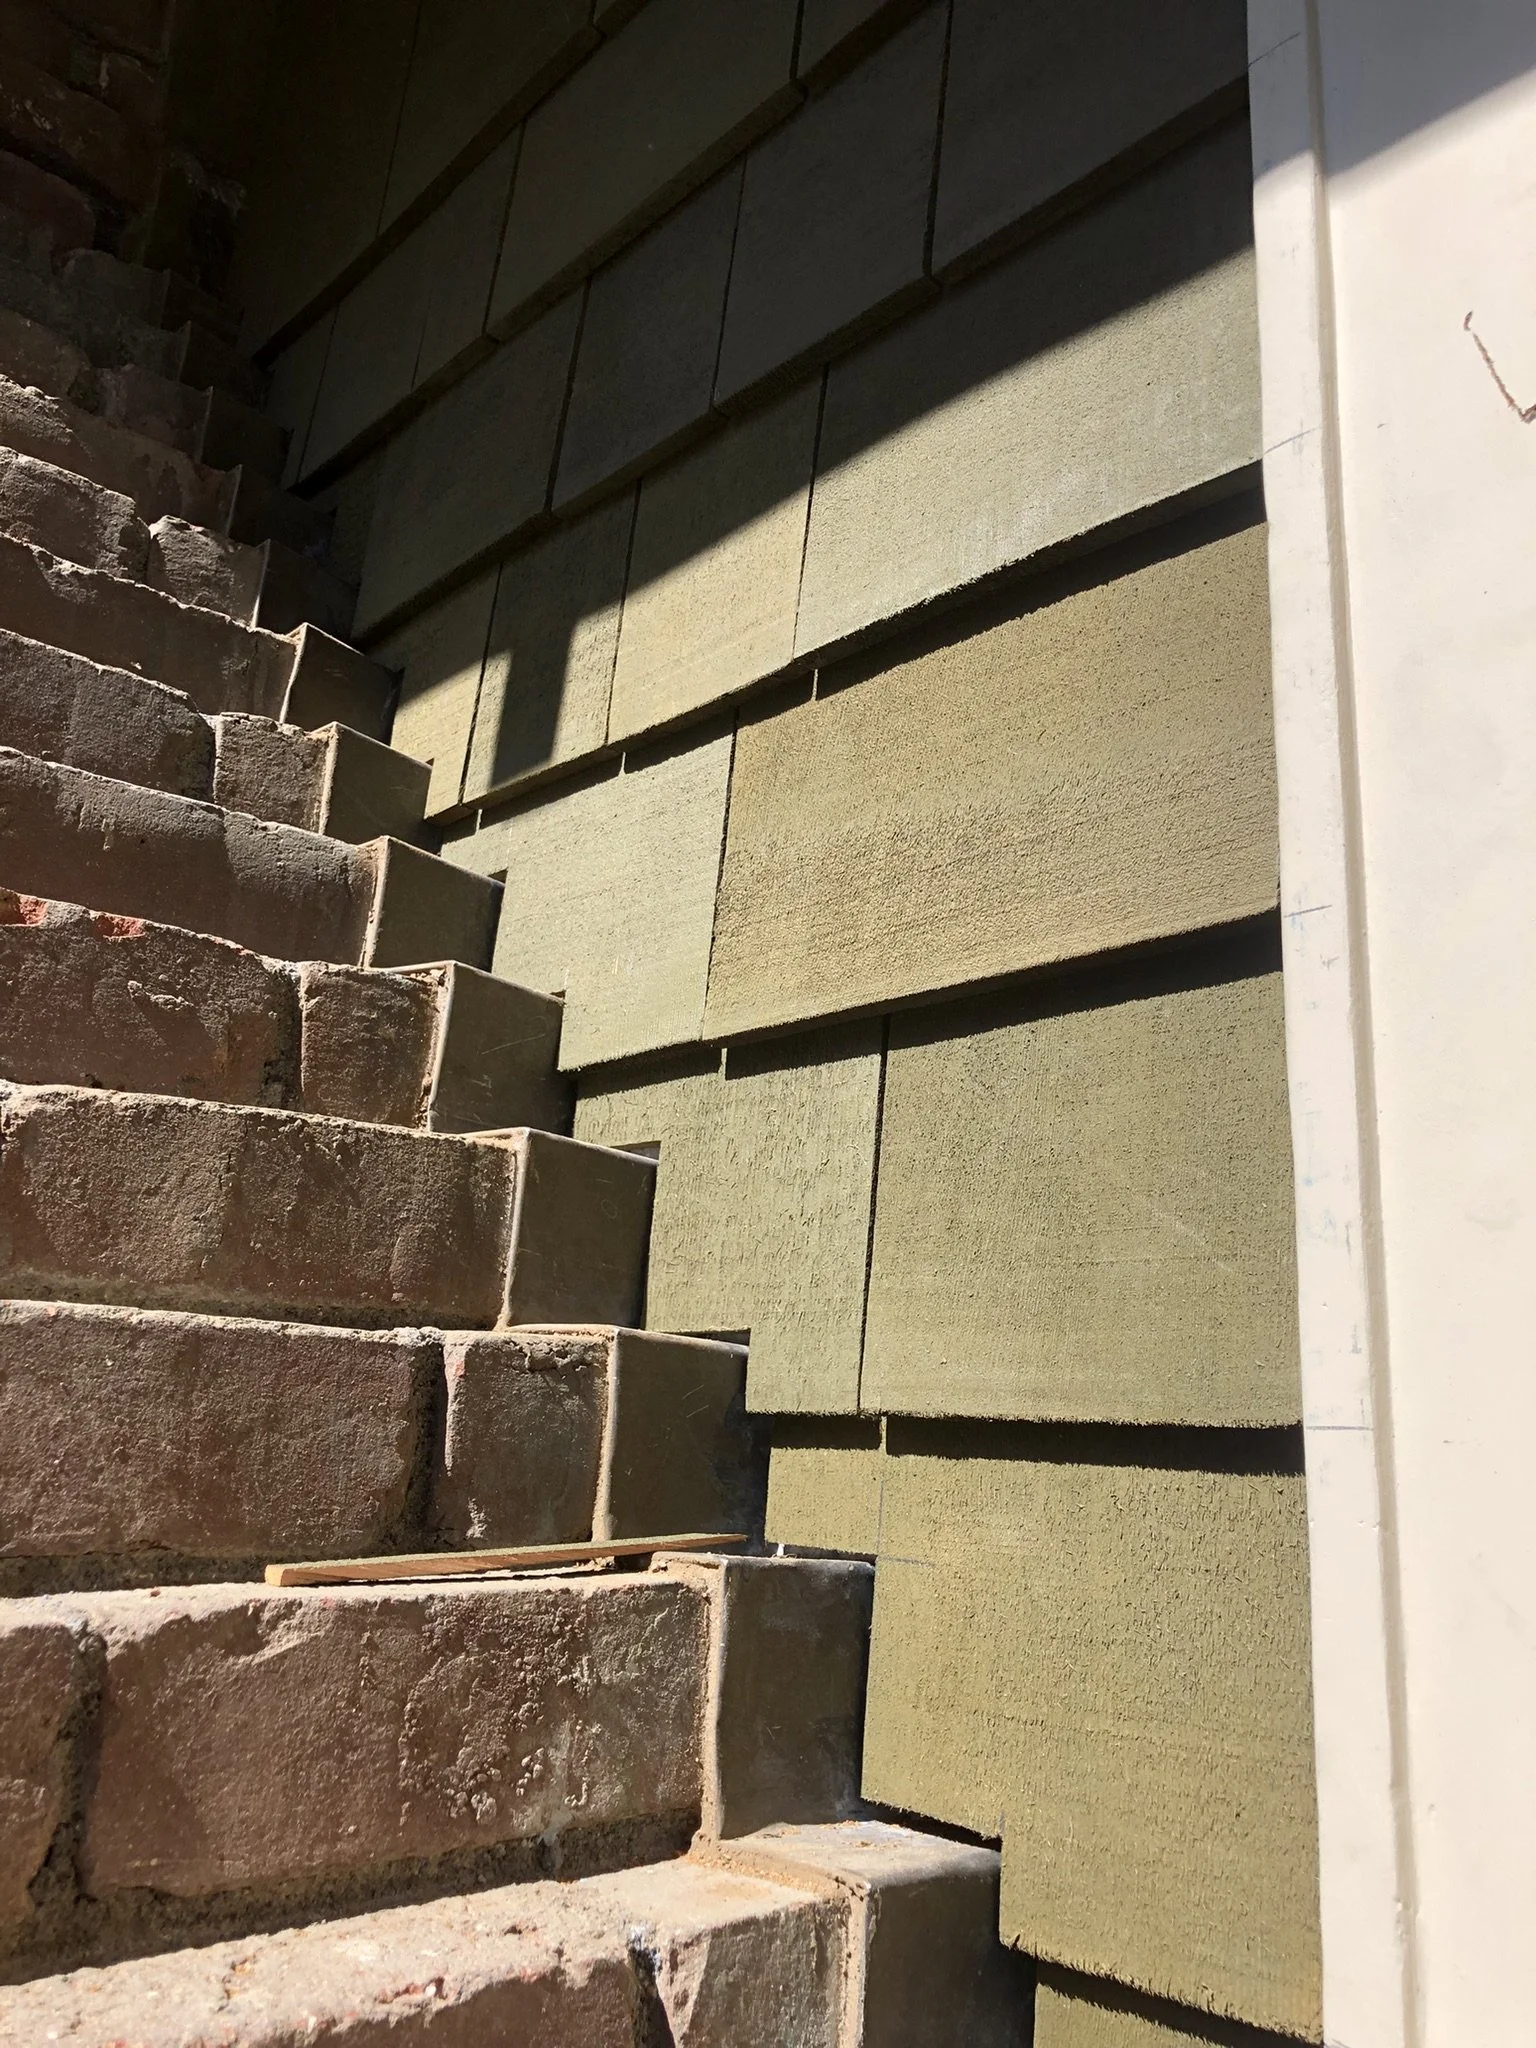
The flare at the bottom of the wall was built out to recreate the original wall profile.
As to the quality of the materials, I had some trepidation. Another friend with an even bigger Craftsman house in town described the quality of new shingles as “potato chips.” Ouch! And indeed, before they were installed 5” to the weather with the thin ends tucked safely under the next course above, I had my doubts! But now that they are in place—wow. I can’t believe how solid the wall feels, and how much better prepared the house now is for the next 112 years.
On the second count, there was no substitute for the right contractor. We knew we had that, because friends of ours in the neighborhood had gone before us with a much more challenging job, reshingling a large two-story Craftsman house. Our friend will be proud to see himself described as a TOUGH CUSTOMER—one who knows what he is looking for to get it done correctly, and who will watch very carefully to extract the best job possible. He was thrilled with the work, and I agreed entirely that the results were truly impressive, so we saw that it could be done well. With that evidence, I felt good about replacing in kind.
The stepped side of the chimney received a painstaking edging of sheet metal flashing; the shingles were cut precisely to follow the line. Thank goodness only ONE side of the chimney had this detail—the other side is straight!
Now we are ALMOST home with the shingles. The only thing left to cover is the gable face over the front porch and about 1/3 of the front wall where we had the ugly old concrete front steps demolished.
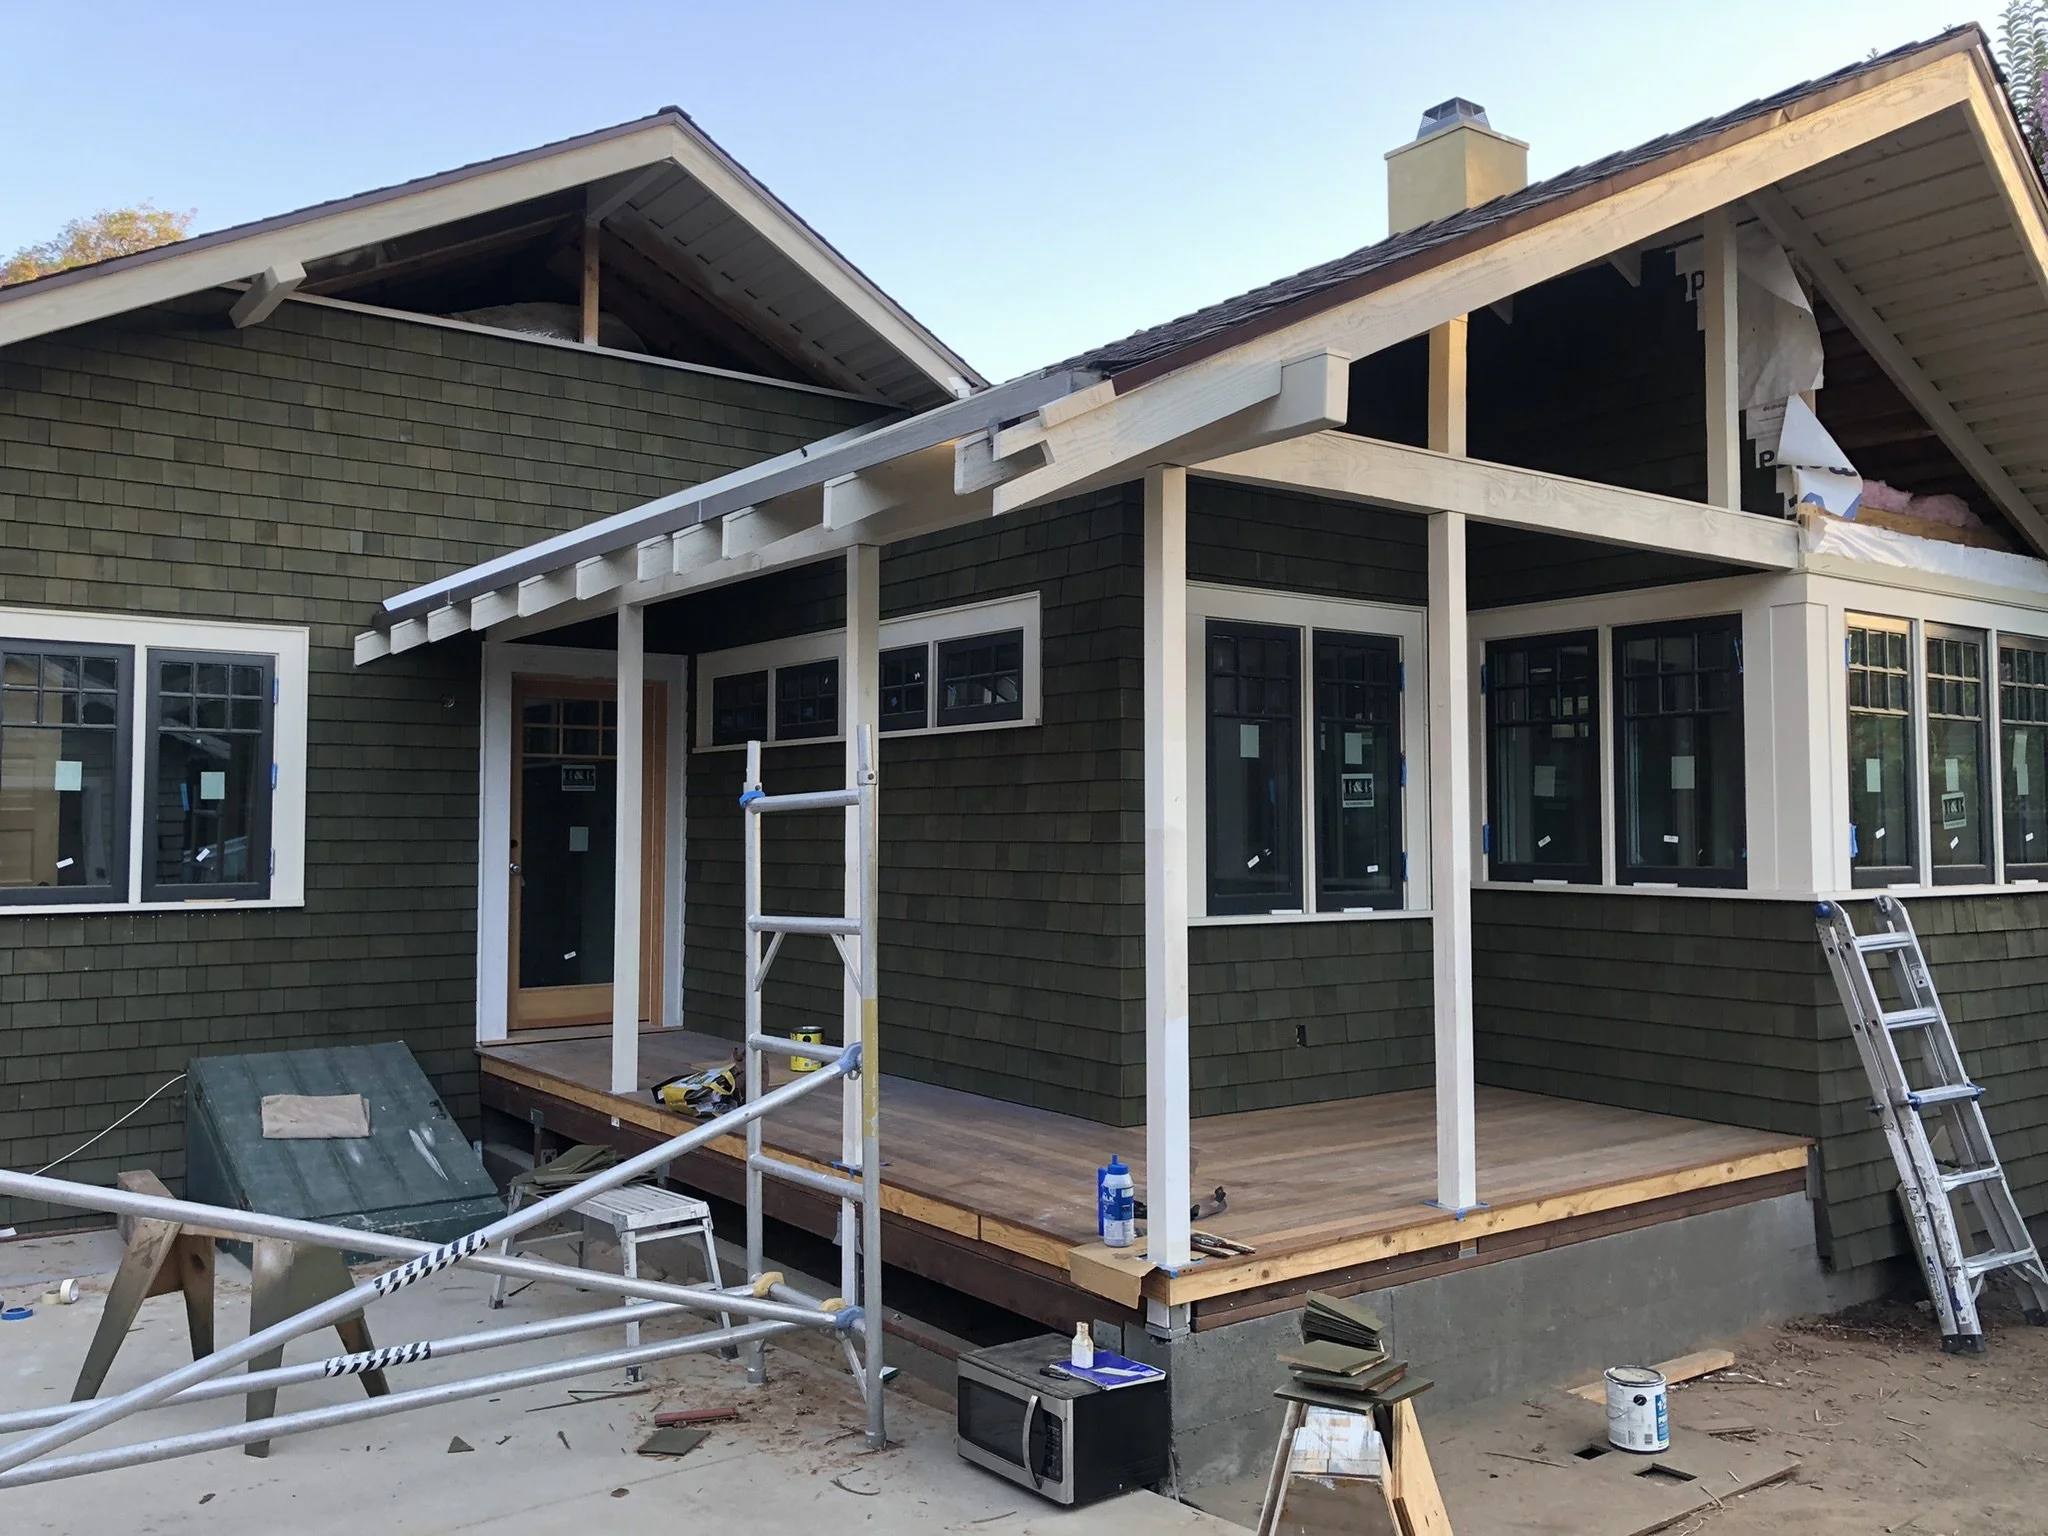
Here is the back of the house with the new roofline at mid-left and the new addition at right. The green and white appears more contrasty here than it strikes me in person, but we also think that the second coat of stain will lighten the color a bit more (less brown showing through).
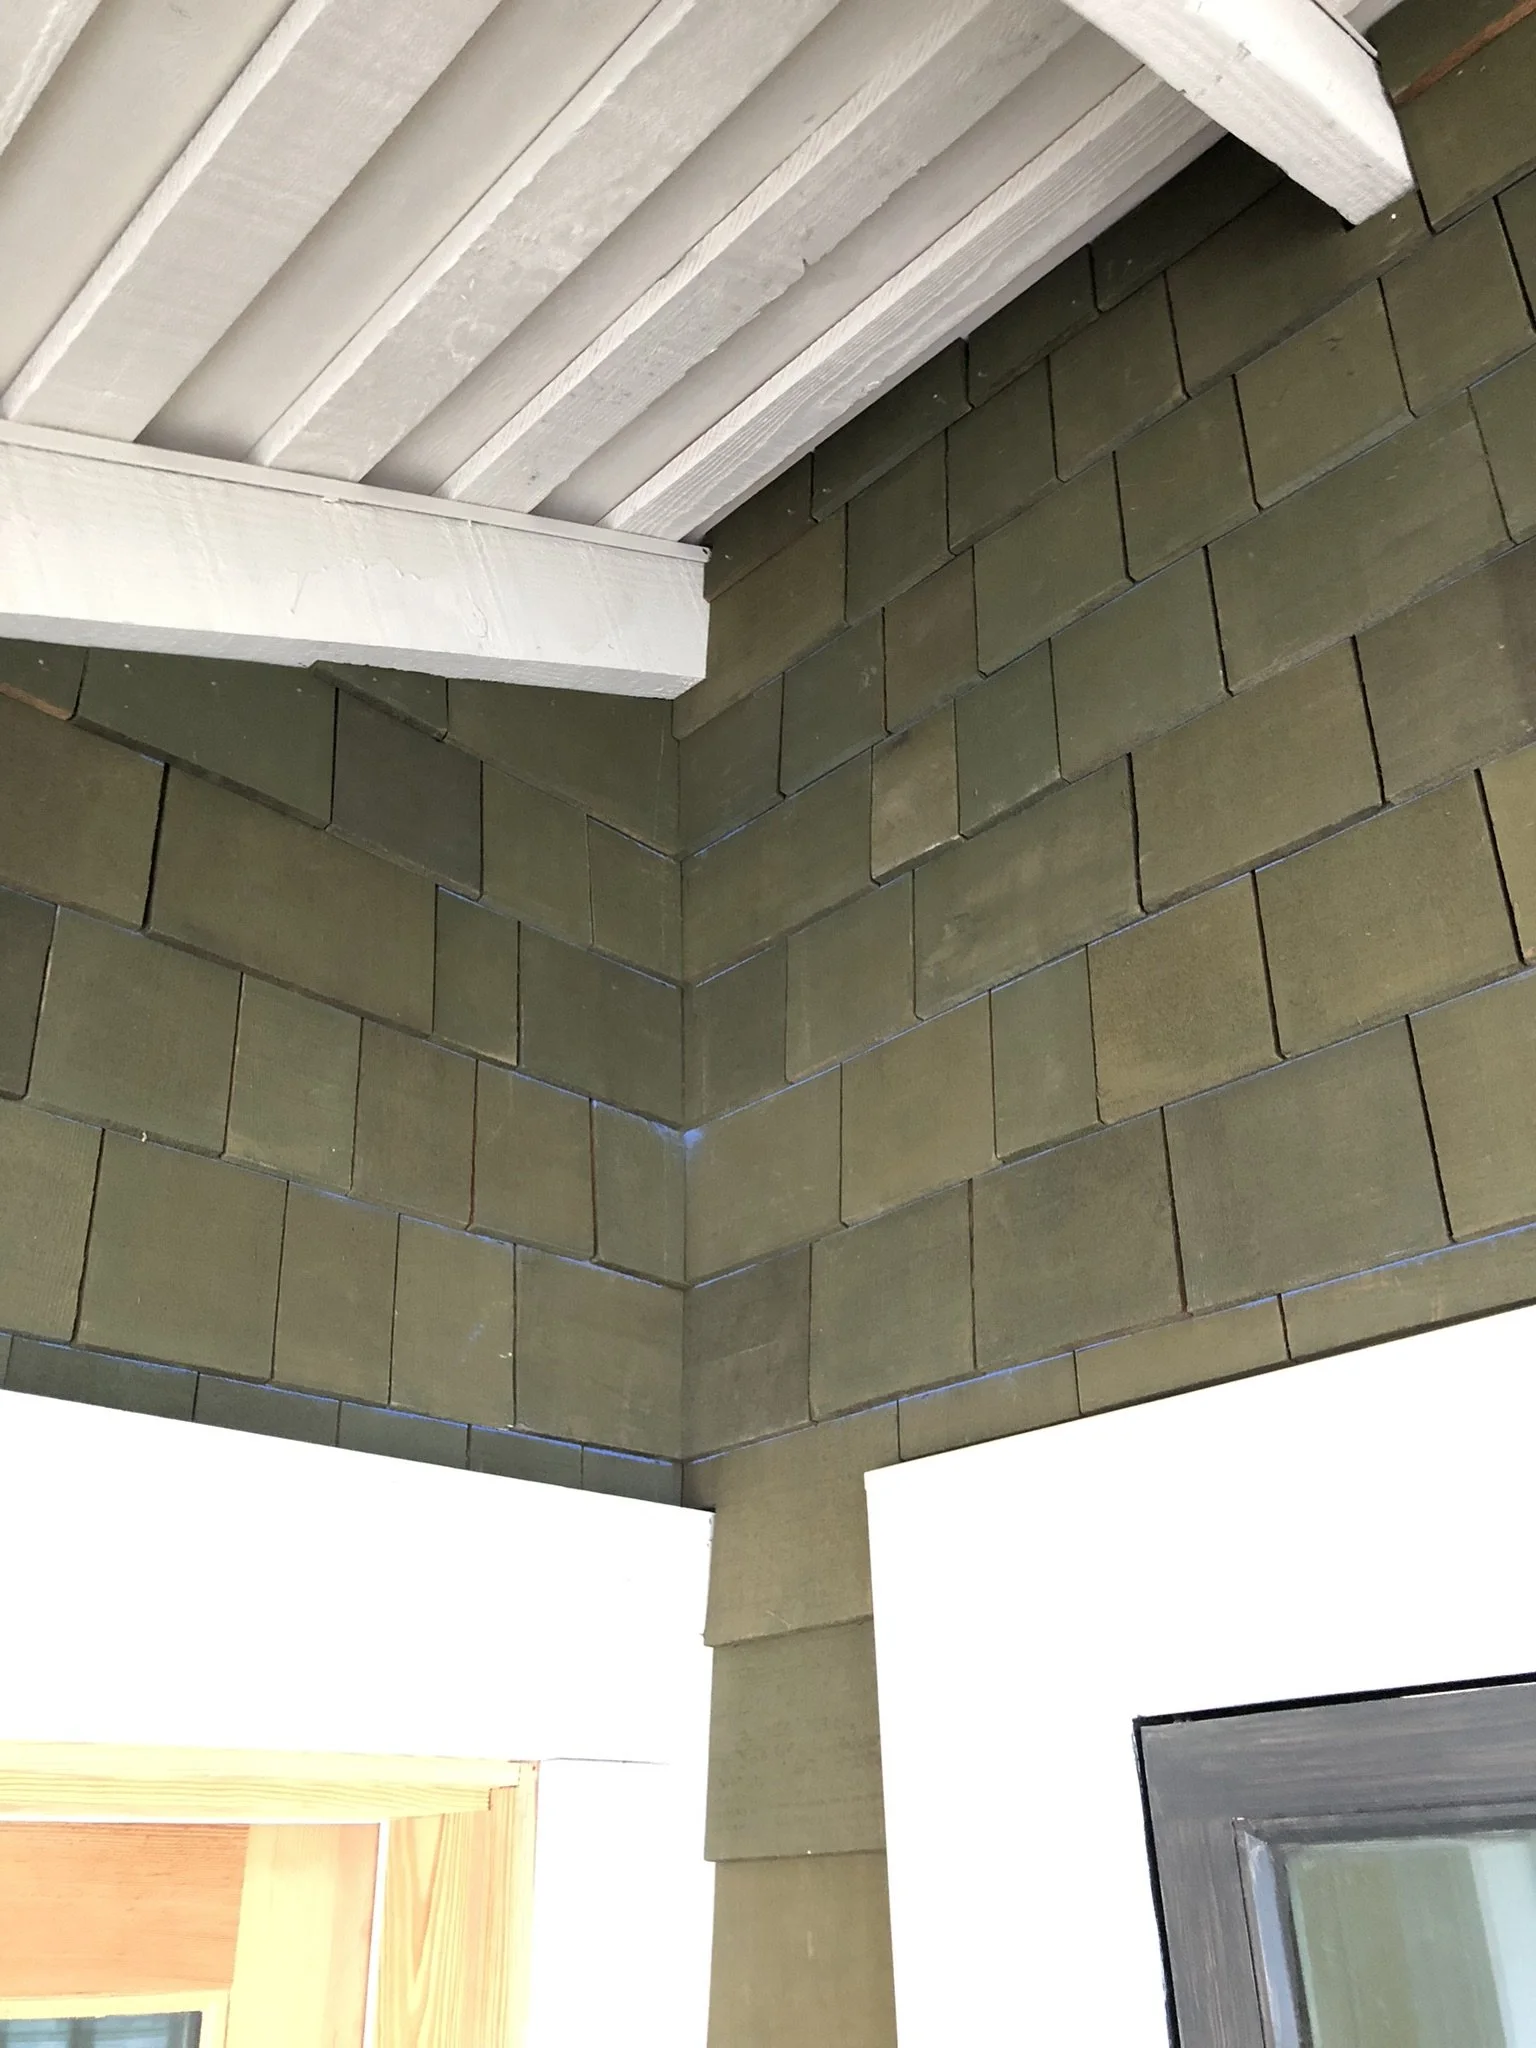
Nice job on the shingles clear up into the dark corner over the back door! The blue is from the chalk line that keeps each row of shingles level and straight.
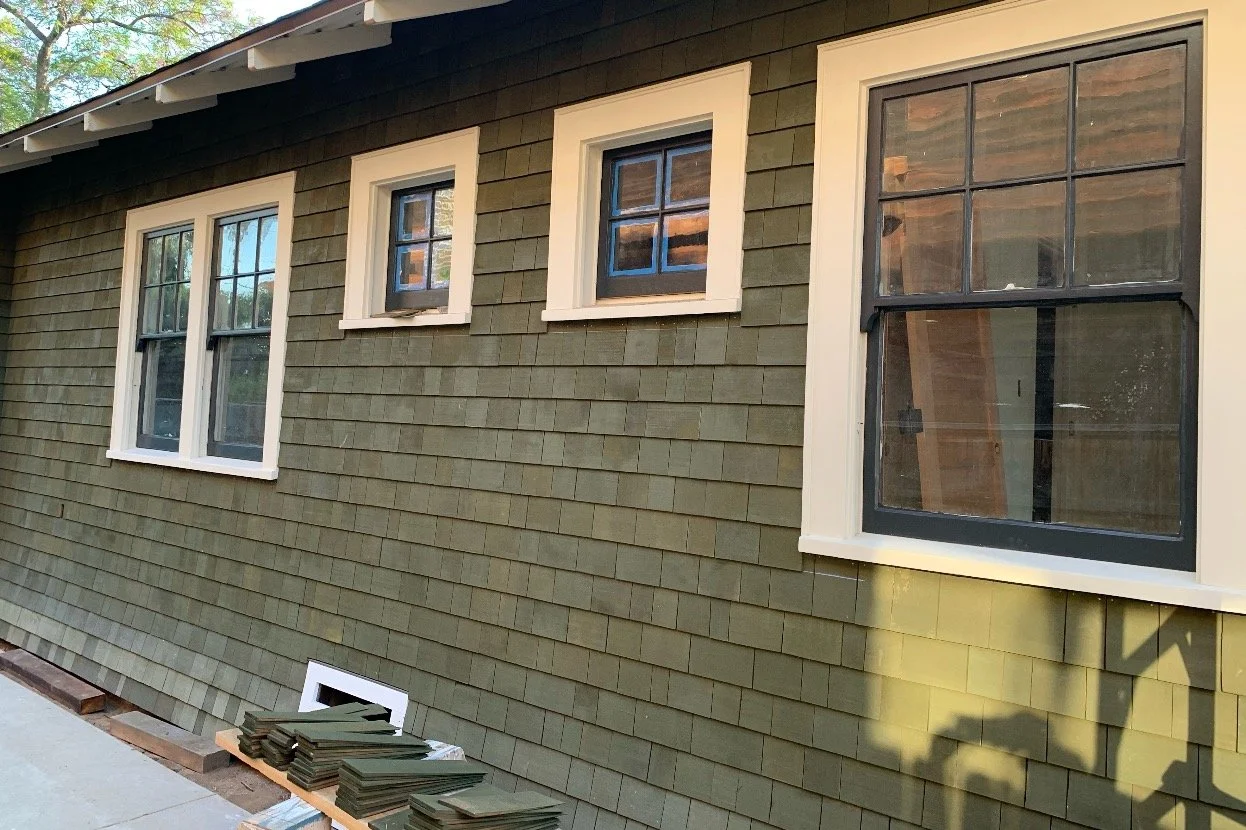
Side flank of the house along the driveway. Just missing the trim under the sills, which is not a full “apron.” It was just a molding piece with mitered ends to return to the wall. We picked a similar trim to replace it, but not so thick: the original didn’t allow for a drip edge on the sill! Not sure what original builder O. E. Williams was thinking with that, but he did the same thing on another house nearby that he built.

Exactly one year after moving out of the house, and ten months since we started construction, here we are! The end is in sight, but we are easily looking at rounding out one year of construction before it’s all done. I’ll feel better when they finish the front of the porch. I’m tired of looking at the Tyvek wrap on that front.
How many shingles are we talking about? Our best estimate, based on the number of square feet ordered (2,000) and the number of shingles per foot (hard to estimate), is TEN THOUSAND! That’s 20,000 nails! All by hand by two people! Way to go, team. Beautiful work.